Building a smart home isn’t just about bolting a few voice assistants onto finished drywall. The best smart homes are planned from the studs out, with infrastructure wired in before insulation goes up. That means thinking like both a builder and a tech integrator, anticipating where devices will mount, how they’ll communicate, and what happens when WiFi drops at 2 a.m.
This guide walks through the construction phase of smart home building, from roughing in conduit to choosing systems that actually talk to each other. Whether someone’s breaking ground on a new build or gutting walls for a major remodel, this is the window to get the foundation right.
Table of Contents
ToggleKey Takeaways
- Smart home construction requires planning infrastructure during the build phase—running conduit, Cat6a cabling, and neutral wires before drywall closes walls—rather than relying on retrofitted devices later.
- Prioritize your smart home network backbone with wired Ethernet drops in key areas and multiple access points; WiFi alone is unreliable for cameras, hubs, and streaming devices.
- Allocate 20-30% of your smart home budget to rough-in infrastructure (circuits, cabling, conduit) during construction; adding these costs thousands more if done as a retrofit after walls are closed.
- Choose a unified smart home ecosystem early—preferably Matter-certified devices—to avoid compatibility issues and ensure future upgrades work seamlessly across devices.
- Provide detailed low-voltage plans to electricians and contractors, including box depths and neutral wire requirements, and conduct a walkthrough before drywall installation to catch forgotten runs or misplaced outlets.
- Avoid common mistakes like skipping conduit runs, undersizing your network, selecting devices before finalizing your platform, and forgetting manual overrides that keep your home functional if automation fails.
What Is Smart Home Construction?
Smart home construction refers to the process of integrating automation, connectivity, and intelligent systems into a building’s physical structure during the build or major renovation phase. Unlike retrofitting devices into an existing home, this approach embeds the infrastructure, wiring, conduit, mounting boxes, and network backbone, directly into walls, ceilings, and floors.
The difference matters. A retrofit smart home often relies on battery-powered devices, wireless adapters, and visible cables taped along baseboards. A purpose-built smart home hides Cat6 or Cat6a network cables, dedicated neutral wires for smart switches, and low-voltage wiring for sensors and keypads behind finished surfaces. It anticipates power needs, signal strength, and device placement before drywall closes everything off.
This isn’t about making every light bulb app-controlled. It’s about creating a flexible backbone that supports both current devices and future upgrades. That means running extra conduit, installing deeper junction boxes, and coordinating with electricians and framers who may not be familiar with smart home specs. The goal is a home where technology works invisibly, reliably, and doesn’t require a server rack in the garage.
Planning Your Smart Home Before You Build
Smart home planning starts on paper, not in the app store. Before a single wire gets pulled, homeowners need a clear map of what they want automated, where devices will live, and how those devices will communicate.
Start by walking through the floor plan, literally, if the house exists, or mentally if it’s still blueprints. Mark every location that might host a smart device: light switches, thermostats, door locks, cameras, motion sensors, motorized shades, ceiling speakers, or access points. Don’t forget outdoor areas, garage doors, landscape lighting, and gates all need power and connectivity.
Next, identify the network backbone. A smart home is only as reliable as its network, so plan for a wired network core with Ethernet drops in key areas: closets for networking equipment, living spaces for access points, and anywhere a device will stream video or handle critical tasks. WiFi is fine for sensors and switches, but cameras, hubs, and entertainment systems should hardwire whenever possible.
Consider where the main control hub or panel will live. Many systems need a central brain, a rack-mounted controller, a smart home hub, or a dedicated computer. This often sits in a utility closet, basement, or garage where it can stay cool and connect to the main electrical panel.
Assessing Your Automation Needs and Budget
Not every room needs the same level of automation, and budgets run out fast when every switch costs $50. Prioritize based on actual use, not wishful thinking.
High-priority automation typically includes:
- Lighting control in main living areas, kitchens, and bedrooms
- HVAC management through smart thermostats with remote sensors
- Security systems covering entry points, garages, and perimeter cameras
- Door locks for keyless entry and remote access
Medium-priority areas might cover motorized shades, whole-home audio, or irrigation control. Low-priority items, smart toilets, app-controlled faucets, or refrigerator cameras, can wait until the core system is proven and stable.
Budget for infrastructure first, devices second. Running an extra $200 in conduit and wire during construction is cheap. Tearing open walls later to add it costs thousands. Allocate at least 20-30% of the smart home budget to rough-in work: extra circuits, network cabling, and junction boxes. The rest covers devices, hubs, and integration labor.
Be realistic about DIY limits. Pulling low-voltage cable is straightforward for most DIYers. Running new 120V circuits or modifying the main panel requires a licensed electrician in most jurisdictions. Permit requirements vary, but any work involving household voltage typically needs inspection.
Essential Smart Home Infrastructure and Wiring
The backbone of a smart home is invisible: Cat6a Ethernet, 14/3 or 12/3 Romex for switched neutrals, and 1-inch conduit for future pulls. These go in during rough-in, after framing but before insulation and drywall.
Ethernet runs should hit every room where an access point, camera, smart TV, or streaming device will live. Use Cat6a for anything that might eventually need multi-gigabit speeds or Power over Ethernet (PoE), it’s only marginally more expensive than Cat6 and far more future-proof. Terminate runs in a central network closet with a patch panel and managed PoE switch. This keeps the system expandable and serviceable.
Smart switches and dimmers need a neutral wire at every box. Older homes often lack this, running only hot and switched-leg wires. New construction or rewires should use 14/3 Romex (hot, neutral, switched-leg, and ground) to every switch location. Some smart switches also require deeper boxes, specify 2.5-inch-deep or 3-inch-deep boxes instead of standard 1.5-inch pancake boxes.
For smart lighting that doesn’t rely on switches, like Hue or LIFX bulbs, run unswitched hot and neutral to fixtures, then add battery-powered remote switches where needed. This keeps bulbs always powered and prevents someone from flipping a dumb switch and killing the smart circuit.
Run 16/2 or 18/2 low-voltage wire for:
- Door/window sensors (typically to a central alarm panel)
- Wired motion detectors
- Keypads and wall-mounted control panels
- Doorbell transformers for video doorbells
Even if the plan calls for wireless sensors initially, having wired runs provides a fallback if batteries die or interference becomes a problem.
Install 1-inch or 1.5-inch conduit (smurf tube or PVC) between the utility closet and the attic, and from the attic to a few strategic rooms. This allows future cable pulls without opening walls. It’s cheap insurance.
Don’t forget outdoor infrastructure. Weatherproof junction boxes with GFCI protection should go anywhere a camera, floodlight, or smart outlet will mount. Bury conduit for landscape lighting or driveway sensors before concrete or sod goes down.
Choosing the Right Smart Home Systems and Devices
Smart home ecosystems don’t always play nice together. Choosing a platform early, and sticking with it, avoids a tangle of incompatible apps and orphaned devices.
The major platforms in 2026 are Matter/Thread, Z-Wave, Zigbee, and manufacturer-specific ecosystems like Apple HomeKit, Google Home, and Amazon Alexa. Matter has gained traction as a universal standard, allowing devices from different brands to work together over a single protocol. If building new, prioritize Matter-certified devices for lights, locks, and sensors. They’re more likely to survive platform shifts and integrate cleanly.
For hubs, many builders choose a centralized controller like Home Assistant, Hubitat, or Control4 (for higher budgets). These aggregate multiple protocols and give advanced users more flexibility than cloud-only ecosystems. They also keep control local, which matters when internet service drops or a company shuts down its servers.
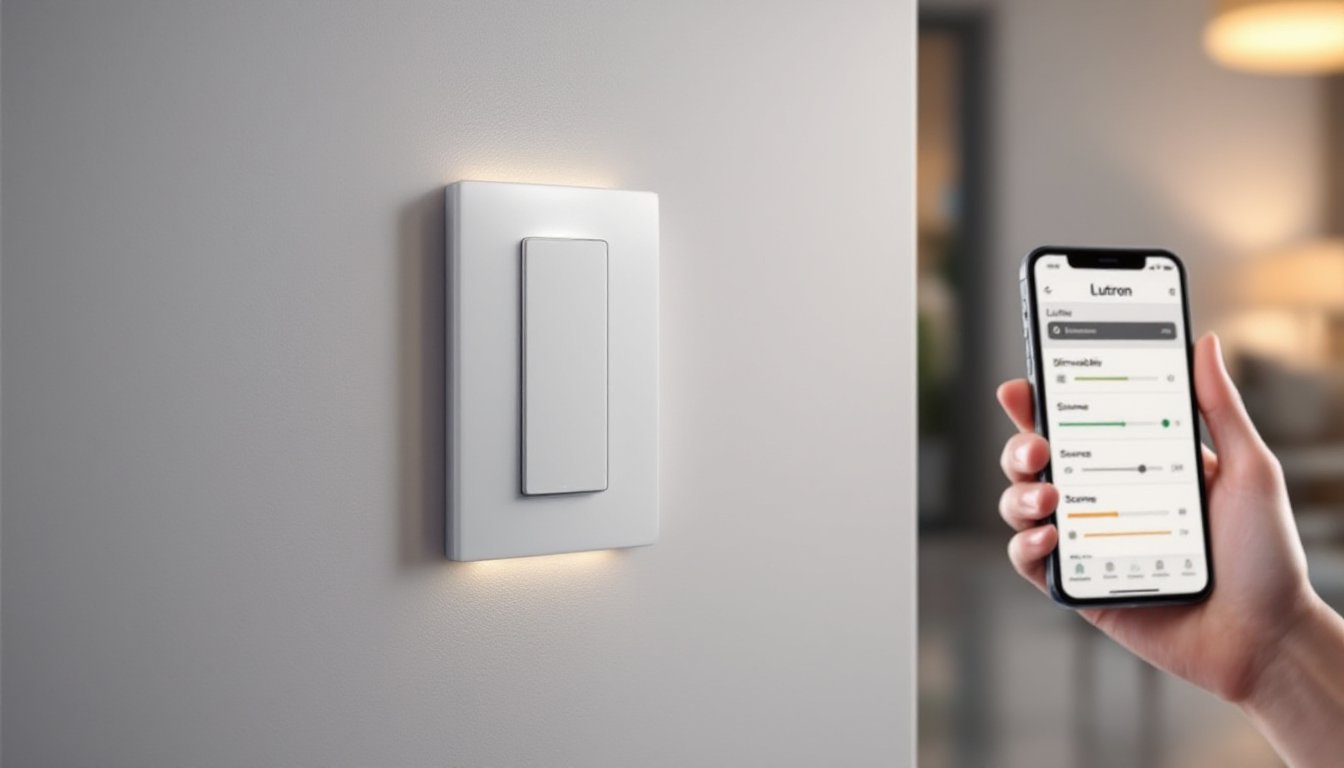
Lighting is the most common starting point. Hardwired smart home devices like Lutron Caseta or Leviton switches work well in new construction and don’t depend on proprietary bulbs. If someone prefers smart bulbs, Philips Hue remains reliable, though it requires leaving switches always-on.
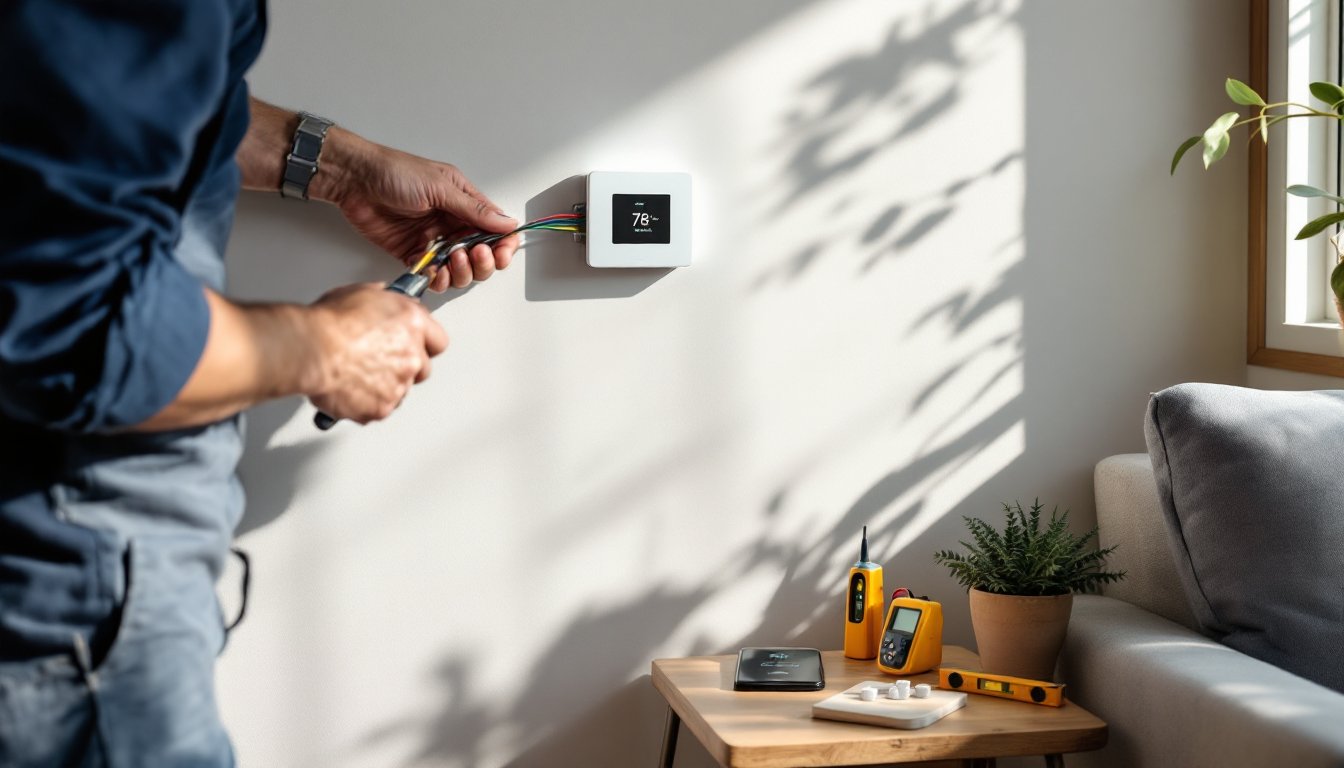
Thermostats should integrate with the chosen ecosystem. Ecobee and Nest both support remote sensors to balance temperatures across zones. Make sure the HVAC system has a C-wire (common wire) at the thermostat location, most smart thermostats need continuous 24V power.
Security systems often require professional monitoring contracts, but DIY options like Ring Alarm or SimpliSafe offer flexibility. For someone installing hardwired sensors during construction, a traditional panel like Honeywell or DSC can integrate with smart home platforms through add-on modules.
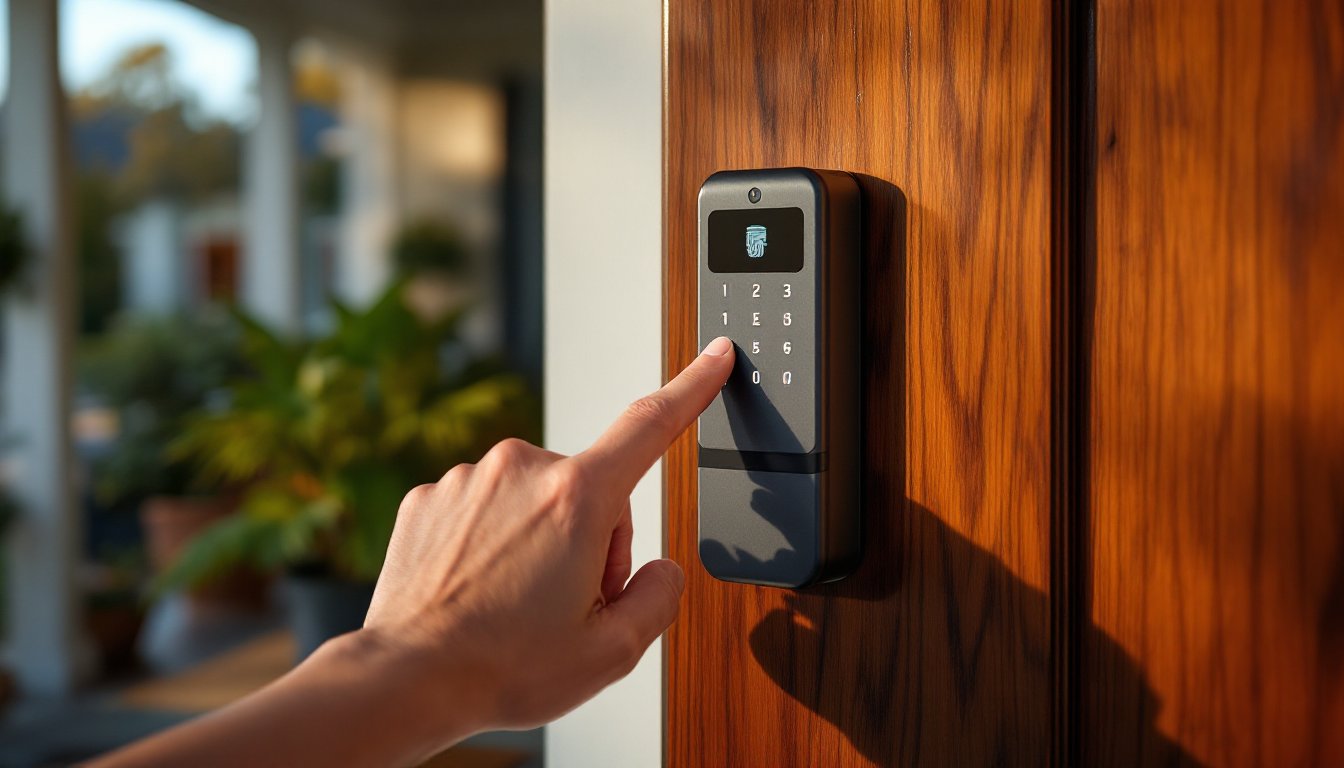
Door locks should be deadbolt-compatible and support Z-Wave Plus or Matter for reliable integration. Brands like Schlage and Yale have proven track records. Avoid locks that rely solely on Bluetooth, they won’t respond to remote commands when nobody’s home.
Cameras are a mixed bag. PoE cameras from Reolink or Ubiquiti offer the best reliability and don’t depend on cloud subscriptions. They do require a network video recorder (NVR) and more setup. Battery-powered cloud cameras are easier but introduce subscription costs and lag.
When comparing traditional home systems, remember that smart devices add complexity. A mechanical thermostat never needs a firmware update. A smart lock won’t fail open if the battery dies. Build in redundancy: keyed lock cylinders, manual overrides for motorized shades, and physical switches that still work even if the hub crashes.
Working with Contractors on Smart Home Integration
Most electricians and framers aren’t smart home specialists. They’ll wire what’s on the plans, but they won’t anticipate the quirks of smart switches, PoE cameras, or network racks.
Start by providing a detailed low-voltage plan alongside standard electrical drawings. Mark every Ethernet drop, every conduit run, and every box that needs a neutral or extra depth. Use clear labels: “2-gang box, 3-inch deep, with Cat6a home run to network closet.” Ambiguity leads to standard 1.5-inch boxes and missing neutral wires.
If the electrician resists running neutrals everywhere, explain that it’s code-compliant and becoming standard practice. NEC 404.2(C) requires a neutral at most switch locations in new construction since 2011, but enforcement varies. Some smart switches (like Lutron Caseta) don’t need neutrals, but locking into one brand limits future flexibility.
For network cabling, hire a low-voltage installer or specify that the electrician use proper technique: no sharp bends, no staples crushing the jacket, and certified terminations at both ends. Ethernet is fussier than Romex, kinks or bad crimps kill gigabit speeds.
Schedule a walkthrough before drywall goes up. This is the last chance to add a forgotten cable run, move a box, or install blocking for a future TV mount or camera. Bring the smart home plan and physically stand where devices will go. It’s easier to catch mistakes when studs are visible.
Be present during rough-in inspections. Inspectors may question deep boxes, conduit runs, or non-standard wiring. Having someone on-site who can explain the smart home plan avoids delays or rejections.
Some contractors offer smart home packages or partnerships with integrators. These can streamline coordination but often lock the homeowner into a specific brand or ecosystem. Read contracts carefully, proprietary systems may require expensive service agreements or prevent DIY modifications. For those who want to get started on their own terms, staying brand-agnostic during construction preserves options.
Common Mistakes to Avoid During Smart Home Construction
Smart home construction fails usually happen in three places: planning, rough-in, and device selection.
Skipping conduit is the most expensive mistake. Walls close up fast, and future needs are hard to predict. Running empty conduit between floors, from the utility closet to the attic, and to exterior walls costs a few hundred dollars during construction. Retrofitting later costs thousands and leaves visible patches.
Undersizing the network is a close second. A single WiFi router won’t cover a 3,000-square-foot home reliably, especially with smart devices scattered across bedrooms, garages, and outdoor areas. Plan for multiple wired access points and a managed network switch that can handle VLANs and traffic prioritization. Using smart home tools that rely on stable connectivity means the network can’t be an afterthought.
Choosing devices before finalizing the platform leads to incompatibility headaches. Someone might buy a dozen Zigbee switches before realizing their hub doesn’t support Zigbee. Lock in the ecosystem first, then purchase devices that fit.
Ignoring power budgets causes breaker trips and voltage sag. Smart home devices are low-power individually, but a room with six smart switches, two PoE cameras, and a smart thermostat adds up. Make sure circuits aren’t overloaded and that PoE switches have enough wattage budget for all connected devices, 802.3at (PoE+) supplies up to 25W per port, 802.3bt (PoE++) supplies up to 60W.
Forgetting about automation strategies for failure modes leaves users stuck. What happens when the internet goes down, the hub crashes, or a firmware update bricks a device? Build in manual overrides: physical switches that bypass automation, mechanical lock cylinders, and local network control that doesn’t depend on cloud services.
Overlooking safety gear during installation is just plain dumb. Use safety glasses when drilling overhead, gloves when pulling wire, and a dust mask when cutting into old walls. Low-voltage work is generally safe, but working in attics, crawlspaces, and around power tools introduces risks.
Finally, overcomplicating the system out of the gate causes frustration. Start with core functions, lighting, climate, and security, then expand. A house that requires a manual and tech support to turn on the lights isn’t smart, it’s annoying. For practical guidance on keeping systems simple, reviewing beginner techniques can provide a solid foundation.
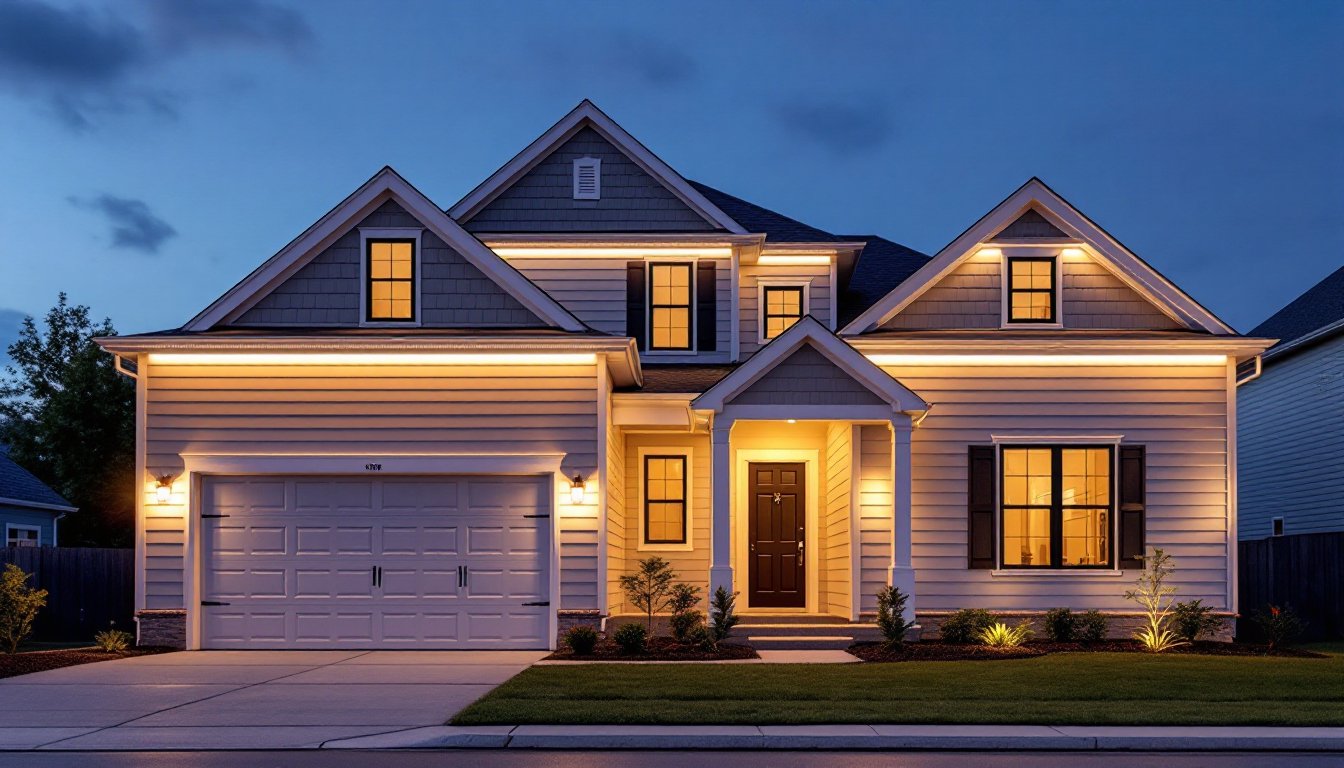
Building a smart home from scratch offers a rare opportunity to embed infrastructure cleanly and permanently. Get the bones right during construction, and the technology layer becomes flexible, upgradeable, and, most importantly, reliable. Skip the prep work, and it turns into an expensive, frustrating mess of workarounds and retrofit compromises. The choice is made during framing, not after move-in.