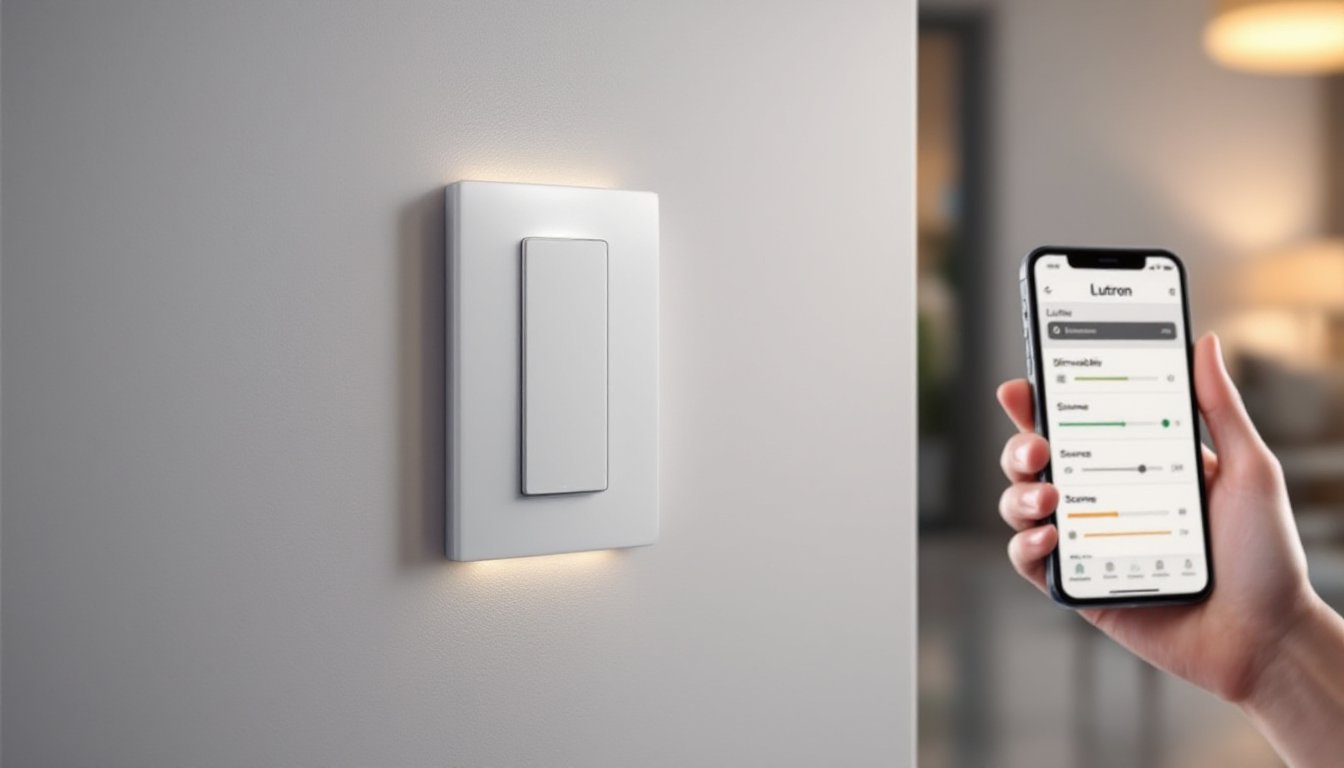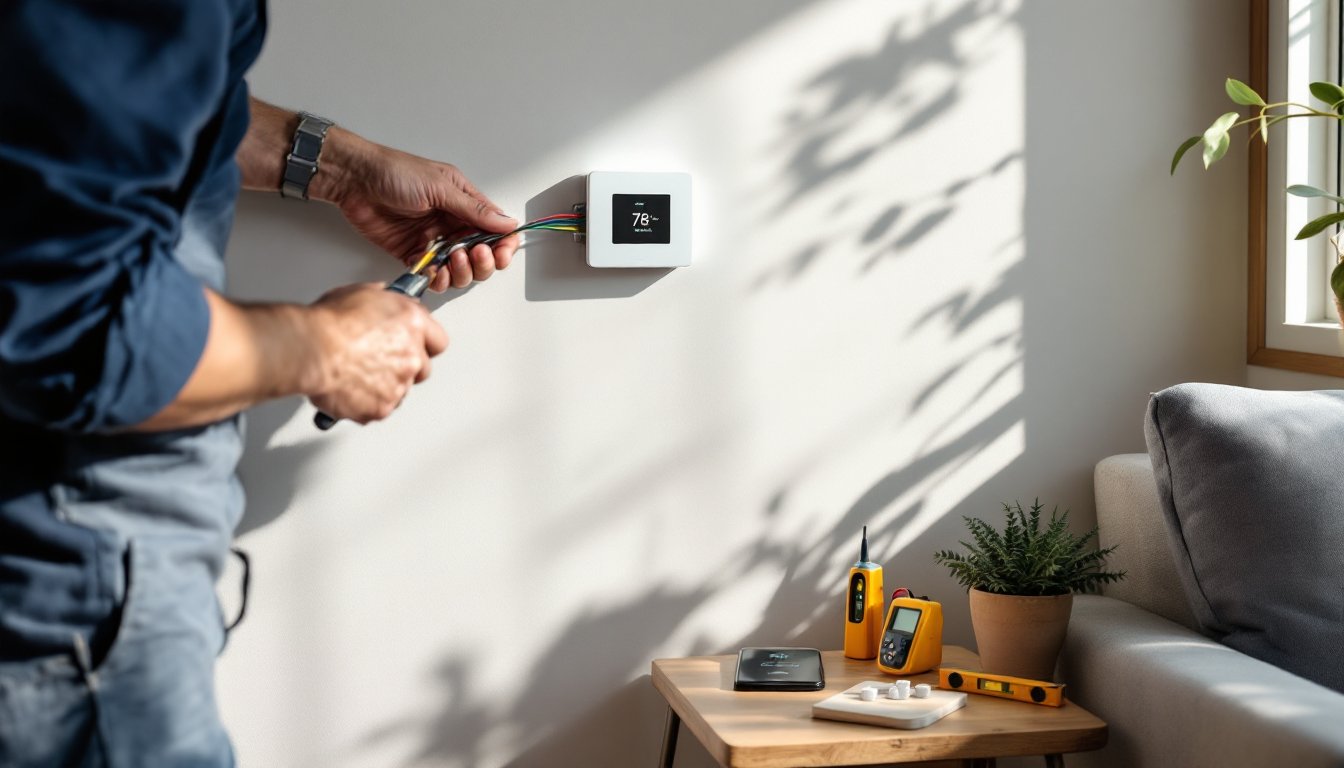
Upgrading to a smart thermostat isn’t just about sleek aesthetics or Wi-Fi connectivity, it’s about cutting energy costs and controlling your home’s comfort from anywhere. Most homeowners can handle this installation in under two hours with basic hand tools. The wiring might seem intimidating at first glance, but once you understand that each wire has a specific terminal and purpose, the process becomes straightforward. This guide walks through the complete installation, from shutting off power to configuring your first temperature schedule.
Table of Contents
ToggleKey Takeaways
- Most homeowners can complete a smart thermostat installation in under two hours with basic hand tools and by following a systematic approach from power shutdown to configuration.
- Proper wire labeling before disconnection is critical—photograph your existing wiring setup and use provided stickers to match each wire (R, W, Y, G, C) to prevent costly mistakes.
- Verify HVAC compatibility before purchasing; most smart thermostats work with 24-volt systems, but older systems or those lacking a C-wire may require an adapter or professional installation.
- Always turn off power at the breaker and confirm with a voltage tester before touching thermostat wiring to avoid damaging the furnace control board.
- Connect to Wi-Fi using the 2.4 GHz band, run the thermostat’s system test during setup to confirm wiring is correct, and monitor performance for 24 hours as the unit calibrates to your home.
What You’ll Need Before You Start
Tools:
- Screwdriver set (Phillips and flathead)
- Needle-nose pliers
- Wire strippers (if wires need trimming)
- Drill with bits (if mounting holes don’t align with existing ones)
- Voltage tester or multimeter
- Smartphone or tablet for app setup
- Level (optional but helpful)
Materials:
- Your new smart thermostat kit (includes baseplate, display unit, screws, wire labels)
- Wire nuts or electrical tape (if you need to cap unused wires)
- Drywall anchors (if mounting to drywall without a stud or existing electrical box)
Safety Equipment:
- Safety glasses (protects eyes when drilling or working near debris)
- Work gloves
Before purchasing a smart thermostat, verify your HVAC system’s compatibility. Most smart thermostats work with standard 24-volt systems (gas furnaces, central air, heat pumps), but some older systems, high-voltage baseboard heaters, or multi-stage setups may require a professional installer or a C-wire adapter. Check the manufacturer’s compatibility tool online, you’ll need to know your current wire configuration.
If your existing thermostat doesn’t have a C-wire (common wire, usually blue or black), don’t panic. Many modern smart thermostats include a power adapter or can draw enough power from the other wires in low-power mode. But, systems without a C-wire may experience battery drain or intermittent connectivity issues. Installing a C-wire adapter is a straightforward fix, but it requires accessing your furnace control board.
Turning Off Power and Removing Your Old Thermostat
Step 1: Locate your HVAC system’s breaker in your electrical panel and switch it to the OFF position. Some furnaces also have a dedicated power switch near the unit, turn that off too. This step is non-negotiable. Working on live 24-volt wiring won’t electrocute you, but it can short your furnace control board and cost hundreds in repairs.
Step 2: Remove the faceplate from your old thermostat. Most snap off by pulling gently from the bottom. You’ll see the mounting plate with wires attached to labeled terminals (R, W, Y, G, C, etc.).
Step 3: Use a voltage tester to confirm the power is off. Touch the tester probes to the R and C terminals. No voltage reading means you’re safe to proceed. If you skip this step and the breaker wasn’t controlling what you thought it was, you’ll know immediately, and not in a good way.
Labeling and Disconnecting the Wires
This is where most DIYers either save themselves frustration or create it. Your smart thermostat kit includes small stickers or labels, use them.
Step 4: Before disconnecting anything, photograph the existing wiring with your phone. Take a clear, well-lit shot showing which wire connects to which terminal. This is your insurance policy.
Step 5: Label each wire with the sticker that matches its terminal letter. If your old thermostat has an R wire (red, usually 24V power), stick the “R” label on that wire. If you see Rh and Rc terminals (separate heating and cooling power), note which wire goes where. Common wire configurations:
- R or Rh/Rc: Red wire, 24V power
- W or W1/W2: White wire, heating
- Y or Y1/Y2: Yellow wire, cooling/compressor
- G: Green wire, fan
- C: Blue or black wire, common (neutral return)
- O/B: Orange or dark blue, heat pump reversing valve
Some older systems have jumper wires connecting Rh to Rc. If yours does, remove it, most smart thermostats handle this internally.
Step 6: Loosen the terminal screws and gently pull each wire free. Don’t let the wires fall back into the wall. Wrap them around a pencil or stick a bit of painter’s tape on them to keep them accessible.
Step 7: Unscrew the old mounting plate from the wall. If there’s a large hole or damaged drywall behind it, now’s the time to patch or use the decorative backplate that comes with many smart thermostats.
Installing Your New Smart Thermostat
Step 8: Thread your labeled wires through the opening in the new baseplate. If the baseplate is larger than your old one and covers the existing holes, you might get lucky. If not, you’ll need to drill new mounting holes.
Step 9: Hold the baseplate against the wall and use a level to make sure it’s straight. Mark the screw holes with a pencil. If you’re mounting to drywall without hitting a stud, insert drywall anchors first. Crooked thermostats aren’t just ugly, some models have leveling sensors that affect their operation.
Step 10: Secure the baseplate with the screws provided in the kit. Tighten them snug, but don’t overtighten and crack the plastic.
Step 11: Connect each labeled wire to its corresponding terminal on the new baseplate. Most smart thermostats use push-in connectors or terminal blocks with small buttons, strip about 1/4 inch of insulation if needed, insert the wire, and ensure it’s seated firmly. Give each wire a gentle tug to confirm it’s locked in.
Common wiring scenarios:
- Standard gas furnace + AC: R, W, Y, G, C
- Heat pump: R, W (often labeled W1/E or AUX), Y, G, C, O or B
- No C-wire: Follow your thermostat’s instructions for installing a C-wire adapter or enabling low-power mode
If you have extra wires that weren’t connected on your old thermostat (often a spare conductor in the cable bundle), cap them with a wire nut or wrap them with electrical tape and tuck them behind the baseplate. Don’t leave bare copper exposed.
Step 12: According to installation guides from major manufacturers, double-check that no wires are touching each other or the baseplate screws. A short here will prevent your system from running.
Step 13: Snap or slide the thermostat display onto the baseplate. You should hear or feel it click into place.
Connecting to Wi-Fi and Configuring Settings
Step 14: Turn the HVAC breaker back on. The thermostat display should light up and begin its startup sequence. If nothing happens, recheck your wire connections, particularly the R and C terminals.
Step 15: Download the manufacturer’s app on your smartphone. Most systems (Nest, Ecobee, Honeywell Home, etc.) require the app for initial setup, even if you plan to use voice control through Alexa or Google Assistant later. Many homeowners find that integrating smart home devices early simplifies long-term management.
Step 16: Follow the on-screen prompts on the thermostat. You’ll typically be asked to:
- Select your language and location
- Choose your Wi-Fi network and enter the password (use the 2.4 GHz band, most smart thermostats don’t support 5 GHz)
- Confirm your HVAC system type (the thermostat may auto-detect based on your wiring)
- Set up an account in the app
Step 17: Many smart thermostats run a quick system test during setup. You’ll hear your furnace, AC, and fan cycle on and off for a few seconds each. This confirms the wiring is correct. If a component doesn’t activate, the app will flag which terminal to recheck.
Step 18: Configure your initial schedule and preferences. Most units come with a generic energy-saving schedule, but you’ll want to customize it to match your household’s routine. Set your preferred temperature units (Fahrenheit or Celsius), enable geofencing if available (the thermostat adjusts when you leave or return home), and link any additional sensors (some models support remote room sensors for better temperature balancing).
Consider connecting your new setup to other systems when you get started with smart home tech, as centralized control through a single app or hub reduces the number of interfaces you need to juggle daily.
Testing Your System and Troubleshooting Common Issues
Step 19: Manually test each mode:
- Set the thermostat to Heat and raise the temperature above the current room temp. Your furnace should ignite within a minute or two.
- Switch to Cool and lower the temperature below the current room temp. The compressor and fan should start.
- Test Fan Only mode. The blower should run without heating or cooling.
If any mode doesn’t work, turn off the breaker and recheck the corresponding wire (W for heat, Y for cooling, G for fan).
Common Issues and Fixes:
-
“No C-wire detected” error: Your system may still function, but expect shorter battery life or occasional reboots. Install a C-wire adapter at the furnace, or use the manufacturer’s power extender kit if provided. Resources like detailed installation walkthroughs often cover C-wire workarounds for specific brands.
-
Thermostat powers on but system doesn’t run: Check that the furnace power switch is on and the furnace door is fully closed (many furnaces have a safety switch that cuts power if the panel is ajar). Also verify the air filter isn’t clogged, a dirty filter can trigger limit switches.
-
Wi-Fi won’t connect: Confirm you’re on the 2.4 GHz network and within range of your router. Thick walls, metal ductwork, or distance can cause weak signals. If your thermostat is in a basement or far corner, consider a Wi-Fi extender.
-
“E” or error codes on display: Consult your manual. Common codes indicate wiring shorts, incompatible HVAC configurations, or failed system tests. For complex systems with multi-stage heating or humidifiers, troubleshooting guides can help identify less obvious wiring mistakes.
-
System short-cycles (turns on and off rapidly): This often points to a wiring issue or an incorrectly configured system type in the app. Re-run the setup wizard and ensure you selected the right HVAC type.
Step 20: Monitor the system for the first 24 hours. Smart thermostats often have a learning period where they calibrate to your home’s heating and cooling characteristics. If something seems off, rooms not reaching set temps, excessive runtime, or the app showing offline status, address it early before it becomes a habit you ignore.
When to Call a Pro:
If you have a multi-zone system, a boiler with zone valves, or a heat pump with auxiliary heat strips, and you’re not confident in the wiring, hire an HVAC tech. The service call (usually $100–$200) is cheaper than replacing a fried control board. Similarly, if your home requires a permit for thermostat replacement (rare, but some jurisdictions treat it as an electrical modification), get the permit or hire a licensed installer.
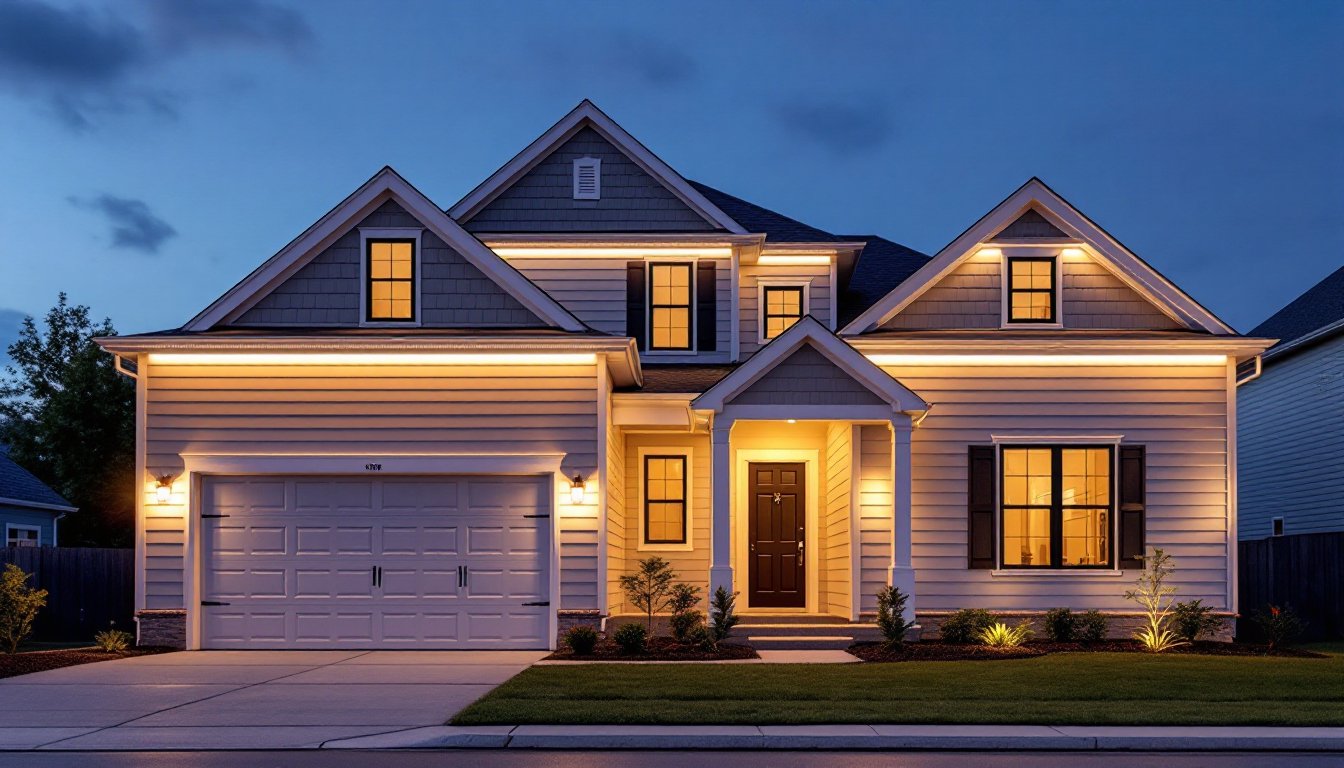
Conclusion
Installing a smart thermostat is one of the most accessible smart home upgrades for DIYers. The payoff, remote access, energy tracking, and automated schedules, makes it worth the hour or two of careful work. Once the system is running smoothly, explore advanced features like occupancy sensing, weather-based adjustments, and integration with other smart home devices. The hardest part is labeling those wires correctly. Get that right, and the rest falls into place.