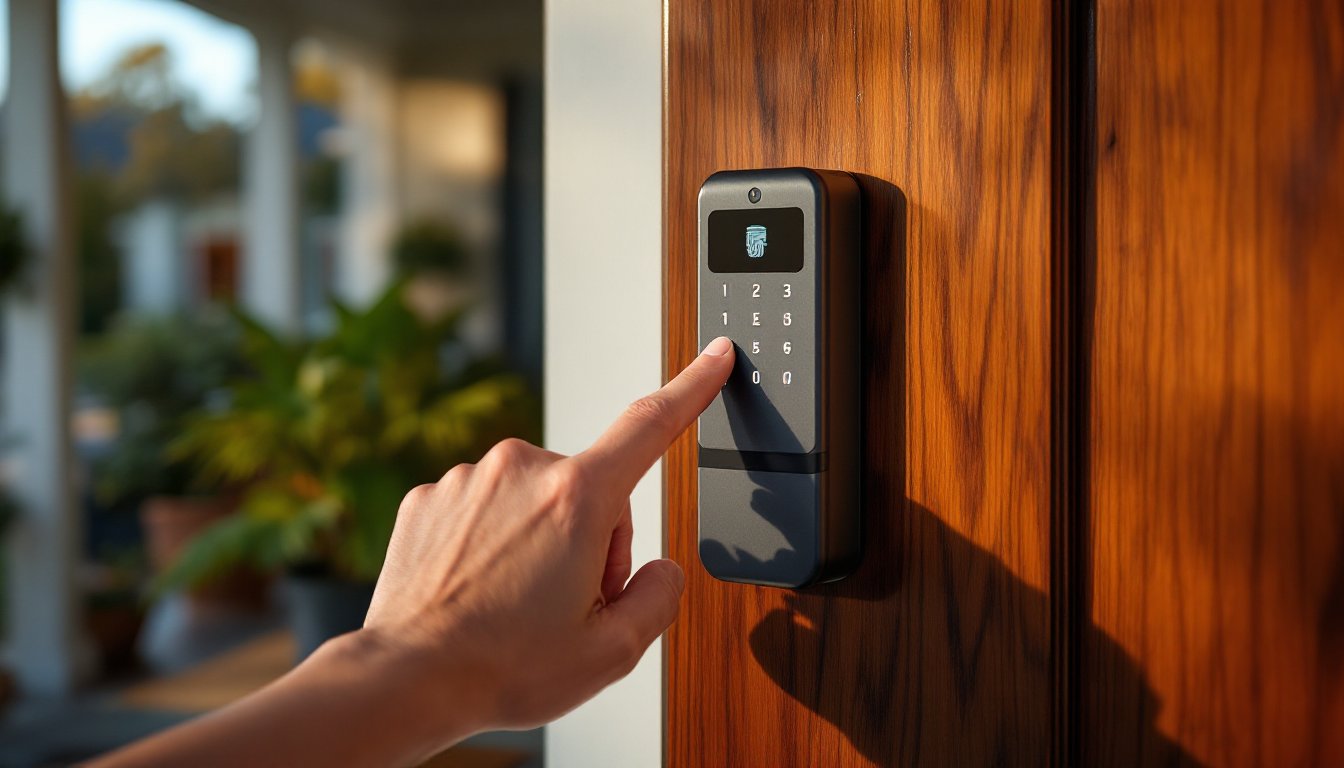
Lockly smart locks offer advanced security with PIN code access, fingerprint scanning (on select models), and smartphone control. But like any electronic deadbolt, they’re only as secure and convenient as the installation and programming allow. Whether the lock just arrived or it’s been acting up after months of use, this guide walks through everything from unboxing to troubleshooting. The instructions apply to most Lockly models, Secure Plus, Vision, Flex, and Vault, though specific features like camera integration or offline access codes vary by product. Before starting, confirm the door already has a standard 2-1/8″ bore hole and compatible backset (usually 2-3/4″ or 2-3/8″).
Table of Contents
ToggleKey Takeaways
- Proper installation of your Lockly smart lock manual steps—especially alignment of the latch and strike plate—prevents binding and ensures years of reliable operation.
- Always replace all four AA alkaline batteries at once when the low-battery warning appears, as mixing old and new cells causes voltage imbalance and keypad failures.
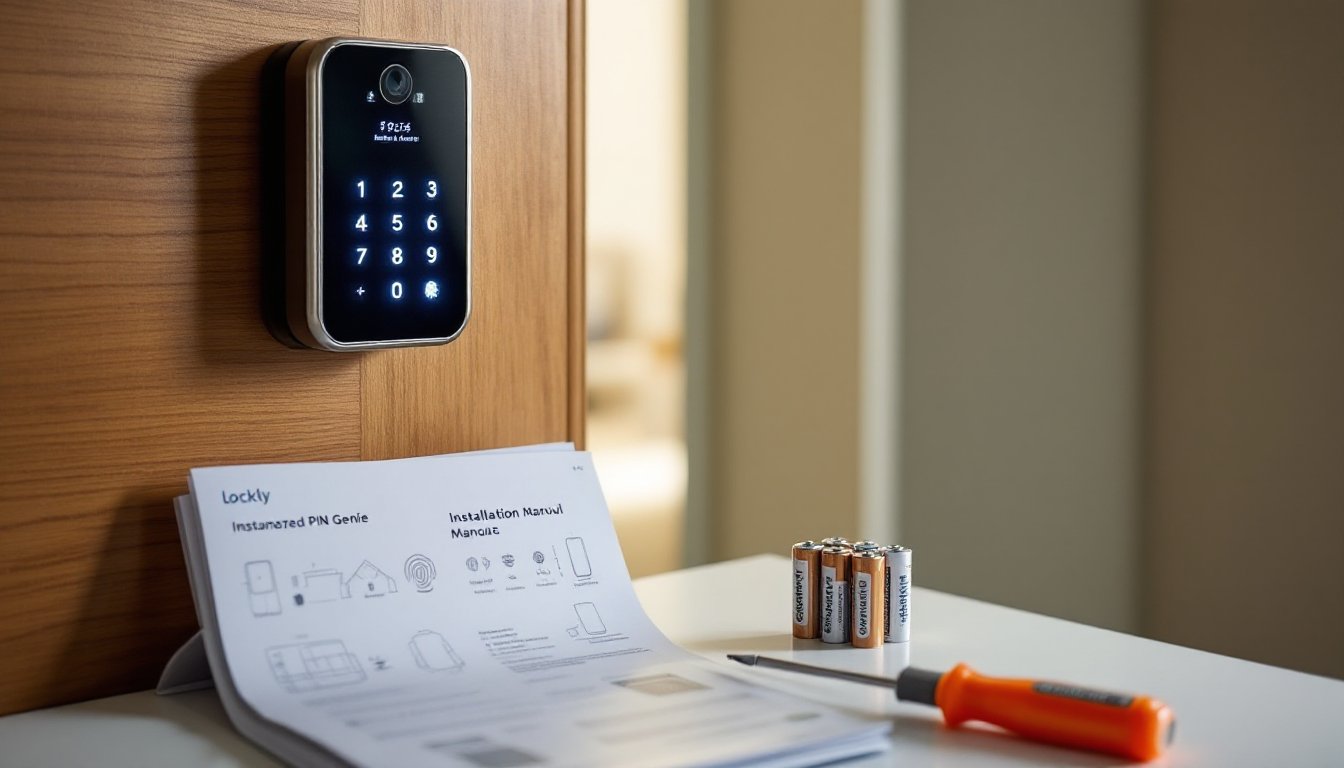
- The patented PIN Genie scrambled keypad displays buttons in random positions to prevent code smudging and shoulder-surfing, offering enhanced security for access codes.
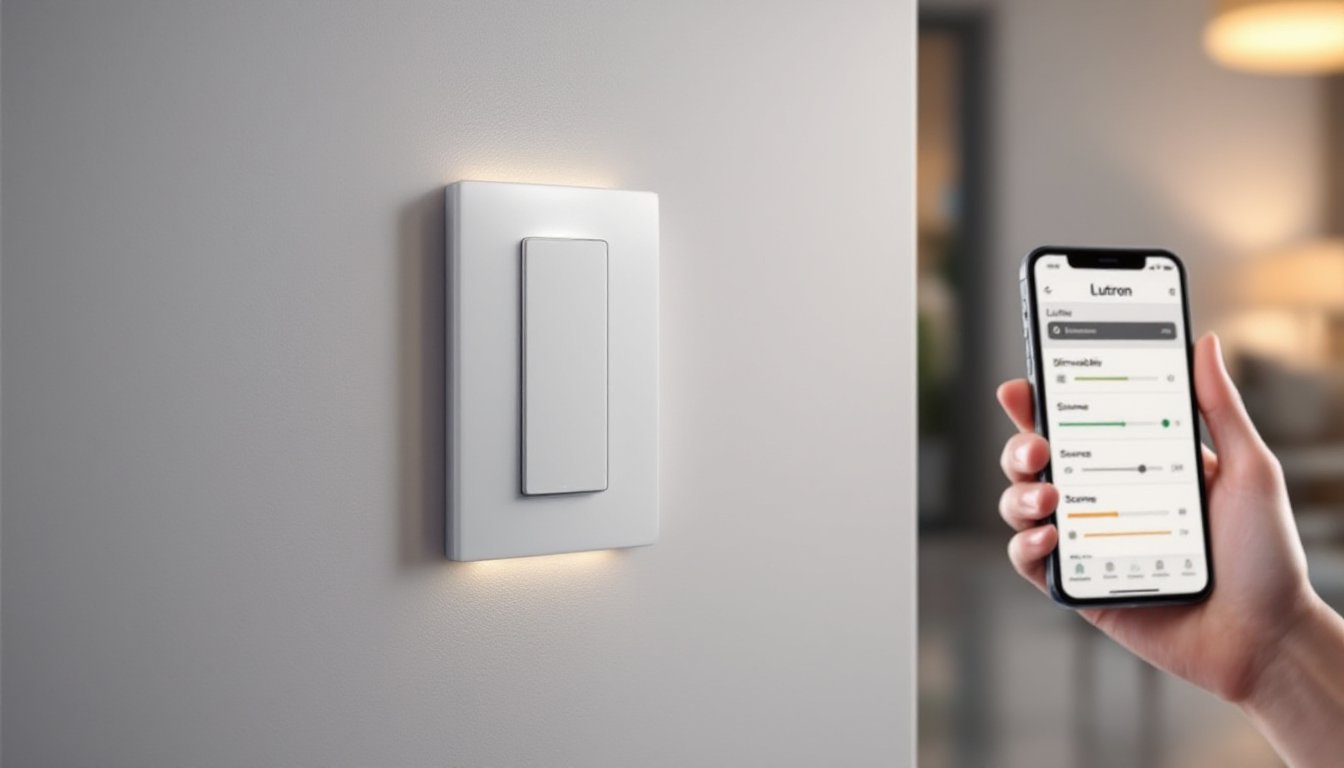
- Connect your Lockly smart lock to Wi-Fi using the app to unlock remote locking, activity logs, and temporary access codes; most connectivity issues stem from 2.4 GHz band congestion.
- Keep your admin code stored securely offline—a factory reset is the only recovery option if forgotten, requiring complete re-programming of all access codes.
- Perform annual maintenance with PTFE-based lubricant and monthly keypad cleaning to maximize your Lockly lock’s lifespan and prevent service calls.
Understanding Your Lockly Smart Lock Components
Every Lockly smart lock ships with a few core parts: the exterior assembly (keypad and keyhole or fingerprint scanner), interior assembly (motor and battery compartment), mounting plates, strike plate, screws, and keys. Some models include a Wi-Fi bridge or built-in Wi-Fi module.
The exterior assembly mounts on the outside of the door. It houses the touchscreen keypad, which uses a patented PIN Genie scrambled keypad to prevent code smudging. Higher-end models add a fingerprint sensor or HD camera.
The interior assembly contains the motor that turns the deadbolt, the battery pack (typically four AA batteries), and the manual thumb turn. It also has the pairing button used during setup.
The mounting plate secures both assemblies to the door. Lockly uses a two-piece design: one plate for each side, connected by long through-bolts. The strike plate reinforces the door frame where the bolt enters. If replacing an existing deadbolt, the old strike may work, but Lockly’s reinforced version offers better security.
Check the box for the installation template, a paper guide that marks screw holes and alignment points. Don’t skip this: misalignment causes binding and premature motor wear.
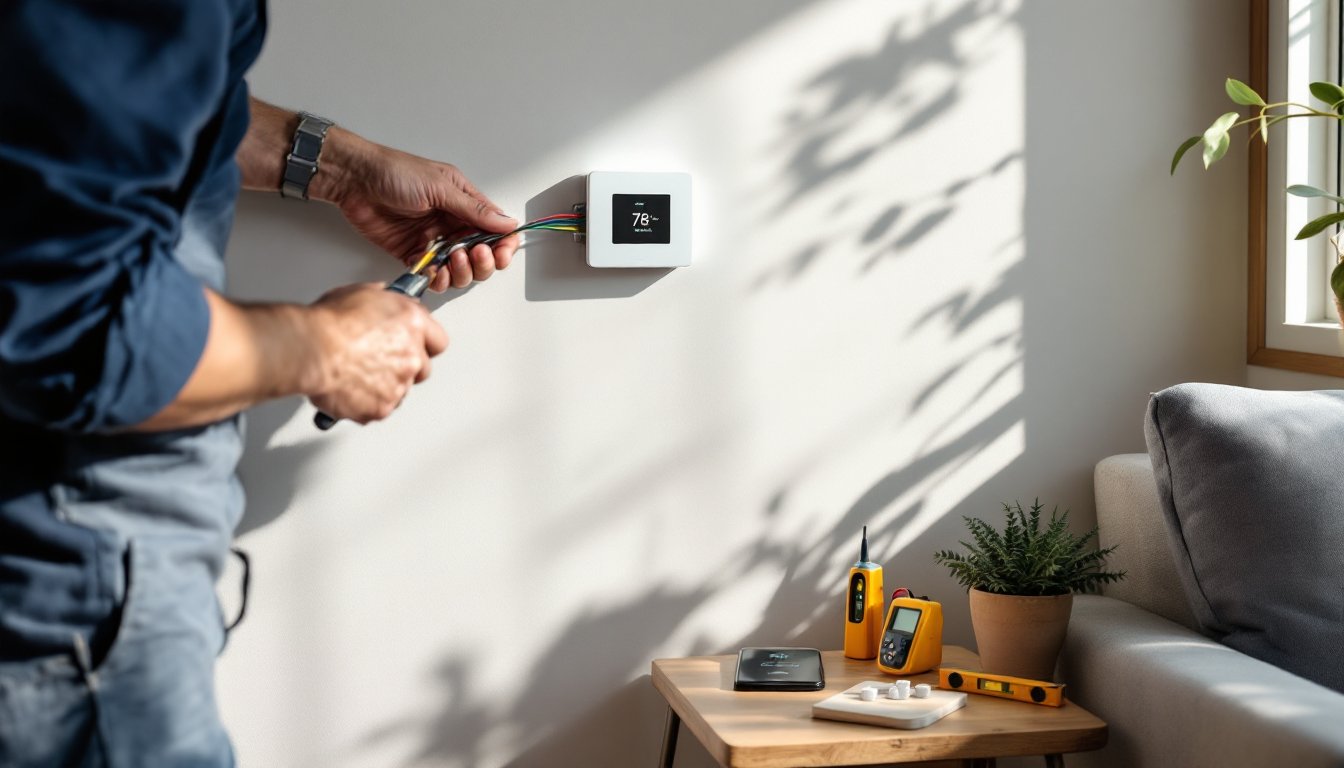
Step-by-Step Installation Guide for Lockly Smart Locks
Tools needed: Phillips screwdriver, tape measure, pencil, and drill with 2-1/8″ hole saw and 1″ spade bit (only if boring new holes).
Safety note: Wear safety glasses if drilling into metal or fiberglass doors.
-
Remove the old deadbolt. Unscrew the interior screws, pull both halves apart, and remove the latch from the door edge. Keep the old strike plate screws if they’re in good shape.
-
Check door prep. Measure the backset, the distance from the door edge to the center of the bore hole. Lockly fits 2-3/4″ and 2-3/8″ backsets. If the hole is smaller than 2-1/8″ diameter, drill it out. If there’s no hole, use the installation template to mark and bore it.
-
Install the latch. Slide Lockly’s latch assembly into the edge hole. The flat side of the bolt should face the strike (door frame). Screw the faceplate flush with the door edge. If the door is thick, use the extension tailpiece included in the box.
-
Attach the exterior mounting plate. Feed the cable through the door hole. Align the plate so the keypad sits vertically, then insert the two long mounting bolts from the outside.
-
Secure the interior assembly. Align it with the mounting bolts, thread them into the interior plate, and tighten with the screwdriver. Don’t overtighten, plastic threads can strip. Test the thumb turn: it should rotate smoothly without binding.
-
Install batteries. Insert four AA alkaline batteries (not rechargeable NiMH, which have lower voltage). The keypad should light up.
-
Test before finishing. Leave the door open and test locking and unlocking with the thumb turn and a temporary PIN (usually 1-2-3-4 on first boot). If the bolt binds, loosen the interior screws slightly and shift the assembly.
Programming Your Lockly Smart Lock: Access Codes and User Management
Lockly locks ship with a default admin code printed on a card in the box. This code is required to add users, delete codes, and change settings directly on the keypad.
To add a new PIN code without the app:
- Wake the keypad by touching it.
- Enter the admin code, then press the lock button.
- Press 3 for “Add User,” then enter a new 4-to-8-digit PIN. Press the lock button to confirm.
- Re-enter the new PIN to verify. The keypad beeps twice if successful.
To delete a code: Enter the admin code, press the lock button, press 4 for “Delete User,” then enter the PIN to remove. Confirm when prompted.
The lock stores up to 99 access codes (model-dependent). Lockly’s patented PIN Genie keypad displays buttons in random positions each time, so shoulder-surfing won’t reveal the code. Many smart lock users appreciate this feature when dealing with home automation guides that emphasize privacy.
Admin code changes: To change the admin code, enter the current admin code, press lock, then press 1. Enter a new 4-to-8-digit admin code twice. Write it down and store it securely, lockouts without the admin code require a factory reset.
User types: Some Lockly models support temporary codes (expire after a set time) and one-time codes. These are configured via the mobile app, not the keypad.
Connecting Your Lockly Lock to Wi-Fi and the Mobile App
Remote access and notifications require the Lockly app (iOS and Android) and a Wi-Fi connection. Older Lockly models use a separate Wi-Fi bridge: newer ones have built-in Wi-Fi.
Initial pairing:
- Download the Lockly app and create an account.
- Tap “Add Device” and select the lock model.
- Press and hold the pairing button on the interior assembly until the keypad flashes blue (about 5 seconds).
- The app searches for the lock via Bluetooth. Once found, follow prompts to name the lock and set its location.
Wi-Fi setup (for models with Wi-Fi bridge):
- Plug the bridge into an outlet within 15 feet of the lock.
- In the app, go to Settings > Wi-Fi Bridge > Add Bridge.
- Connect the bridge to the home’s 2.4 GHz Wi-Fi network. Most routers broadcast both 2.4 GHz and 5 GHz: Lockly hardware only supports 2.4 GHz.
- The app confirms the connection. If it fails, move the bridge closer to the router or lock.
Built-in Wi-Fi models: These skip the bridge. After Bluetooth pairing, the app prompts for Wi-Fi credentials. Enter the network name and password, and the lock connects directly.
Once connected, the app unlocks features like remote locking/unlocking, activity logs, temporary access codes, and low-battery alerts. Users comparing smart locks often check reviews on home security camera comparisons to see how ecosystem integration works across brands.
Common Troubleshooting Tips and Solutions
Keypad won’t wake: Check battery orientation and voltage. Replace all four batteries even if only one is low, mixing old and new cells causes voltage imbalance. If the keypad still doesn’t respond, perform a hard reset by removing batteries for 30 seconds.
Lock won’t engage or retract: The most common cause is misalignment between the bolt and strike plate. Close the door slowly and watch where the bolt contacts the frame. If it’s too high or low, adjust the strike plate by loosening screws and shifting it. For binding inside the lock, loosen the interior mounting screws a quarter turn.
“Low battery” warning: Lockly locks give about 30 days’ notice before batteries die. Replace with fresh alkaline AA batteries, not lithium (too high voltage) or rechargeable (too low voltage). The app and keypad both display battery status.
Wi-Fi connection drops: Most issues stem from 2.4 GHz band congestion or weak signal. Move the Wi-Fi bridge closer to the router, or switch the router channel (1, 6, or 11 have less overlap). Restart the bridge by unplugging for 10 seconds.
App says “Device Offline”: Confirm Bluetooth is enabled on the phone and the lock is within range (about 30 feet). If Wi-Fi features aren’t working, verify the bridge is powered and online. Unlink and re-pair the lock in the app if needed.
Forgotten admin code: Without the admin code, the only option is a factory reset. Remove the battery cover, press and hold the reset button (small pinhole on the interior) for 10 seconds until the keypad flashes red. This erases all codes and settings. Re-program from scratch.
Code not working: If a code worked before but suddenly fails, check if it was deleted by another user or expired (for temporary codes). Re-add it via the app or keypad. Also verify the keypad isn’t in lockout mode from too many failed attempts, wait 60 seconds and try again.
Many homeowners researching home tech trends find that consistent troubleshooting steps across smart lock brands reduce service calls.
Maintenance and Battery Replacement Best Practices
Smart locks need minimal maintenance, but a few habits extend their lifespan.
Battery replacement: Swap all four batteries at once when the low-battery warning appears. Use name-brand alkaline AAs, generic cells often have inconsistent voltage. Remove the interior cover, note the orientation (positive end up), and slide in fresh cells. The keypad lights up immediately if installed correctly.
Cleaning the keypad: Wipe the touchscreen monthly with a microfiber cloth dampened with water. Avoid ammonia-based cleaners, which can damage the coating. For sticky residue, use isopropyl alcohol on the cloth, not directly on the screen.
Lubricating the bolt: Once or twice a year, spray a dry PTFE-based lubricant (like Teflon spray) into the latch mechanism. Don’t use WD-40 or oil-based products, they attract dust and gum up the motor. Cycle the lock a few times to distribute the lubricant.
Firmware updates: The Lockly app notifies users of firmware updates, which fix bugs and improve security. Connect via Bluetooth, open the app, and follow the update prompts. Don’t remove batteries during an update, it can brick the lock.
Seasonal checks: Extreme cold can temporarily drain batteries faster. In winter, check battery status weekly if the lock is on an exterior door. Heat doesn’t usually affect electronics, but direct sunlight can fade the keypad over years. Consider a storm door or awning for exposed installations.
Physical inspection: Every few months, check that mounting screws remain tight (but not overtightened). Inspect the strike plate for wear or loose screws. If the door has settled or warped, the bolt may drag, adjust the strike or plane the door edge.
Conclusion
Installing and managing a Lockly smart lock isn’t complicated, but it does require attention to alignment, battery care, and app setup. Most issues trace back to misalignment during install or weak Wi-Fi signal for remote features. Keep the admin code in a secure place, check batteries when the app warns, and lubricate the bolt annually. With proper setup and basic upkeep, a Lockly lock delivers years of keyless convenience and remote access without service calls.