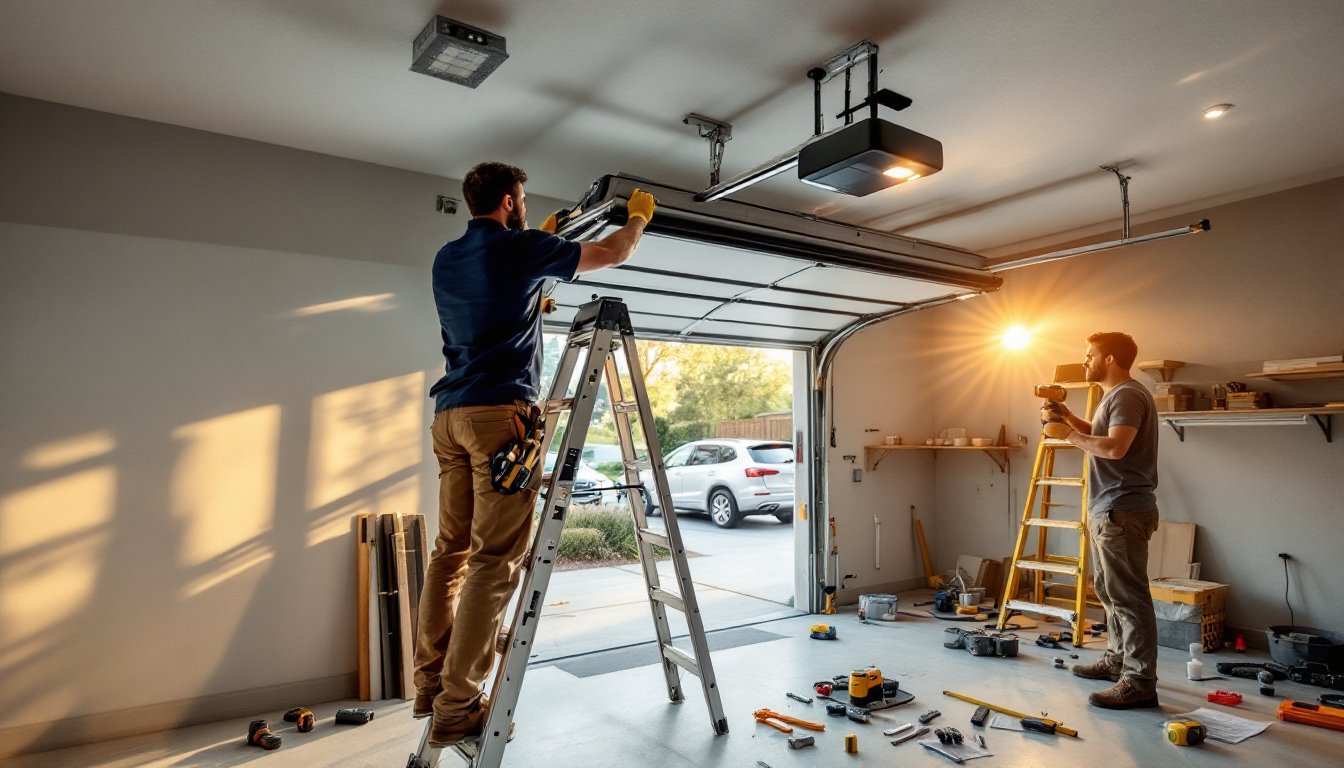
Installing a smart garage door opener isn’t rocket science, but it does require some prep work and about two to three hours of your Saturday. The payoff? Remote access from anywhere, activity alerts when the door opens, and integration with your smart home system. Most homeowners can handle this project with basic tools and a helper for the heavy lifting. Before you start, confirm your existing garage door is in good working order, springs balanced, rollers moving smoothly, and the door itself structurally sound. Smart openers won’t fix mechanical problems, and trying to automate a faulty door creates safety risks.
Table of Contents
ToggleKey Takeaways
- Smart garage door opener installation typically takes 2–3 hours and requires basic tools, a helper, and verification that your existing door is structurally sound with balanced springs and smooth rollers.
- Before purchasing a smart garage door opener, confirm your sectional door weighs no more than 550 pounds and is under 7 feet tall, and inspect springs for rust or damage before starting—faulty springs should be repaired by professionals.
- Proper installation requires mounting the motor unit to a ceiling joist (not drywall), securing safety sensors 4–6 inches off the floor on both sides aligned with each other, and maintaining chain or belt tension at ½ inch of slack for optimal performance.
- Test your smart garage door opener’s auto-reverse safety feature by placing an object in the door’s path and confirming immediate reversal, plus verify Wi-Fi connectivity from your property’s edge to ensure remote access works reliably.
- Schedule regular maintenance every six months—lubricate the chain or belt with white lithium grease and check sensor alignment quarterly—to prevent mechanical failures and extend your smart opener’s lifespan.
What You’ll Need Before You Start
Double-check your existing setup before ordering hardware. Most smart openers work with sectional garage doors weighing up to 550 pounds and no taller than 7 feet. Measure your door height and weigh it (or check the manufacturer’s specs) to confirm compatibility.
Tools Required:
• Stepladder (6-foot minimum to reach ceiling joists)
• Cordless drill/driver with Phillips and flathead bits
• Adjustable wrench or socket set (3/8″ and 7/16″ common)
• Tape measure
• Level (2-foot or longer)
• Wire strippers (if hardwiring the opener)
• Safety glasses and work gloves
Materials and Components:
• Smart garage door opener unit (motor head, rail, trolley)
• Mounting brackets and hardware (usually included)
• Chain, belt, or screw drive (depends on model, belt drives run quieter)
• Wall-mounted control panel
• Safety sensors (photoelectric eyes)
• Emergency release handle and cord
Safety Check: Inspect your garage door springs. If you see rust, gaps in coils, or the door feels heavy when manually lifted, call a professional. Spring replacement is dangerous and best left to trained techs. The torsion springs above the door store enough energy to cause serious injury.
Most quality smart openers include battery backup for power outages and rolling code technology for security. Look for models with HomeKit, Google Home, or Alexa compatibility depending on your ecosystem. Chamberlain’s MyQ and LiftMaster units dominate the market, but newer brands like Meross offer budget-friendly alternatives with similar features.
Step-by-Step Installation Process
Removing Your Old Garage Door Opener
Disconnect power at the breaker or unplug the unit before touching anything. Garage door openers run on 120V AC, and you don’t want a surprise while handling wires.
-
Pull the emergency release handle (usually a red cord hanging from the trolley) to disengage the opener from the door. Manually lift the door halfway and let go, it should stay in place if the springs are properly balanced.
-
Disconnect the trolley arm from the door bracket. Remove the bolts or clips securing the curved arm to the top center of your door.
-
Unbolt the motor unit from the ceiling mounting bracket. Most units hang from a metal bracket lag-screwed into a ceiling joist. Have your helper support the motor while you remove the fasteners.
-
Lower the rail assembly carefully. The rail and motor are one piece on most models, weighing 30 to 50 pounds. Don’t drop it on your car.
-
Remove the header bracket bolted to the wall above the door. This metal bracket holds the front end of the rail.
-
Disconnect wiring from the wall button and safety sensors. Label wires with tape if you’re reusing the same button, most new smart openers include updated control panels, though.
-
Take down the old safety sensors mounted on either side of the door opening, about 6 inches off the floor.
Dispose of the old unit responsibly. Some municipalities accept e-waste at recycling centers. Don’t toss motors in regular trash, they contain electronic components and lubricants.
Installing the New Smart Opener Unit
Lay out all components and read the manufacturer’s instructions. Generic steps apply, but specifics vary between brands like MyQ and Meross systems.
-
Assemble the rail. Most units ship with the rail in two or three sections. Slide them together and secure with included bolts. Thread the chain or belt through the trolley according to the diagram, tension adjustment comes later.
-
Attach the header bracket to the wall above the door’s center. Use lag bolts into solid framing, not just drywall anchors. The bracket holds hundreds of pounds of stress during operation.
-
Position the motor unit. With your helper, lift the rail and motor assembly so the front of the rail rests in the header bracket. The motor should sit roughly 2 inches above the highest point of the door’s travel. Use a stepladder to reach ceiling joists.
-
Hang the motor from the ceiling. Drill pilot holes into a ceiling joist (not just drywall), then lag-screw the included metal hanging brackets to the wood. Secure the motor unit to these brackets. Check with your level, the rail should slope slightly down toward the header bracket, about 1/4 inch drop per foot of length.
-
Connect the trolley arm to the door’s center bracket. Adjust the arm length so the trolley sits at the midpoint of its travel when the door is closed.
-
Install safety sensors. Mount the photoelectric eyes on each side of the door, 4 to 6 inches off the floor, facing each other. Run the wires up the wall and along the ceiling to the motor unit. These sensors must align perfectly, a misaligned beam prevents the door from closing.
-
Wire the wall control panel. Run the included two-conductor wire (usually 22-gauge) from the motor unit to your chosen location for the control panel. Mount the panel about 5 feet off the floor, away from the door’s path. Connect wires to the labeled terminals on both the motor and panel.
-
Adjust chain or belt tension. Most units include a tensioning bolt or spring clip. The chain should have about 1/2 inch of slack at its midpoint when you press on it. Too tight causes premature wear: too loose creates noisy operation.
-
Plug in the unit or restore breaker power. The motor should light up and run through a self-diagnostic cycle. Modern smart openers like Chamberlain’s MyQ often include voice prompts guiding initial setup.
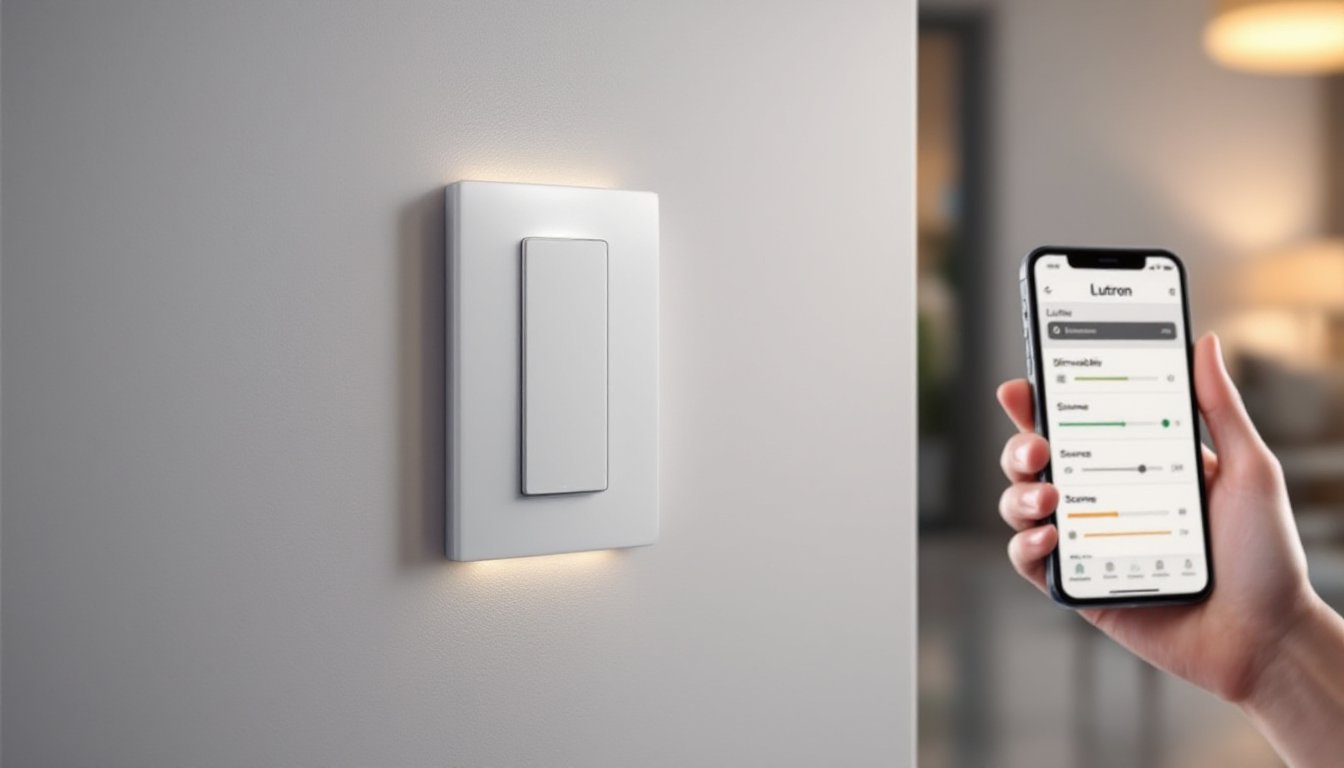
Connecting Your Smart Opener to Wi-Fi and Your Phone
Download the manufacturer’s app before starting this step. Common apps include MyQ, LiftMaster, Meross, or Tailwind, depending on your opener brand.
-
Enable pairing mode on the opener. Most units have a learn button or Wi-Fi indicator on the motor housing. Press and hold until it flashes, consult your manual for the exact button.
-
Launch the app and follow the setup wizard. You’ll need your home’s 2.4 GHz Wi-Fi network (not 5 GHz, most openers don’t support it) and password. Garage openers typically install far from routers, so signal strength matters. If your Wi-Fi barely reaches the garage, consider a mesh extender or powerline adapter.
-
Connect to the opener’s temporary network. Your phone will briefly join the opener’s own Wi-Fi signal, then push your home network credentials to the device. The app automates this handoff.
-
Test remote operation. Once connected, tap the open/close button in the app. The door should respond within two seconds. Walk across the street and test again, you’re verifying internet connectivity, not just local network.
-
Set up voice control if desired. Link the opener’s app to Alexa, Google Assistant, or Apple HomeKit. Follow the prompts in your smart assistant’s app to discover the new device. Create voice routines like “Hey Google, close the garage door.”
-
Configure notifications. Most apps offer activity alerts, door opened, left open for X minutes, or forced entry attempts. Customize settings so you’re not bombarded with alerts every time your teenager leaves for school.
-
Add additional users. Grant family members access through the app rather than handing out physical remotes. Digital keys can be revoked instantly if phones get lost.
Some municipalities now require UL 325 compliance for automatic garage door openers, which includes automatic reversal if the door contacts an object while closing. Your smart opener likely meets this standard, but verify before completing installation. Consult your local building department if you’re unsure whether this project requires permitting, most residential replacements don’t, but regulations vary.
Testing and Troubleshooting Common Issues
Run through a full test cycle before calling the job done. This catches 90% of installation errors.
Complete Test Sequence:
-
Safety sensor test. Place a cardboard box in the door’s path and press the close button. The door should reverse immediately when it hits the box. If it doesn’t, recheck sensor alignment and wiring.
-
Manual release test. Pull the emergency release handle and manually lift the door. It should move smoothly with about 10 to 15 pounds of effort. Reconnect the trolley and verify the opener can lift the door without straining.
-
Force adjustment. Most smart openers auto-calibrate opening and closing force, but some require manual adjustment via screws or app settings. The door should reverse if it encounters 20 pounds of resistance while closing (per UL 325 standards). Test with a bathroom scale under a piece of plywood.
-
Wi-Fi range test. Walk to your property’s edge and attempt remote operation. If the app can’t reach your opener, you need better garage Wi-Fi coverage.
Common Problems and Fixes:
• Door opens but won’t close: Safety sensors misaligned or blocked. Check for spiderwebs, dirt on lenses, or sunlight interference (angling sensors slightly down helps).
• Opener hums but door doesn’t move: Trolley not engaged with the door arm, or motor gears stripped. Disengage the opener and test door balance manually.
• Intermittent Wi-Fi connection: Garage is outside router range. Install a Wi-Fi extender positioned between router and garage for reliable signal.
• Motor runs continuously: Limit switches need adjustment. These small switches tell the motor when the door reaches fully open or closed positions. Consult your manual for adjustment screws on the motor housing.
• Chain or belt slapping noise: Tension too loose. Tighten until you have 1/2 inch of play at the rail’s midpoint.
• App says “door open” when it’s closed: Magnetic or infrared door sensor mispositioned. Adjust the sensor on the door so it aligns with the one on the frame.
If mechanical problems persist, verify your garage door is in good working order. Smart openers can’t compensate for worn rollers, bent tracks, or failing springs. Those issues require separate repairs before automation makes sense.
Conclusion
A properly installed smart opener transforms garage access from manual chore to seamless automation. Regular maintenance matters, lubricate the chain or belt every six months with white lithium grease, check sensor alignment quarterly, and test the auto-reverse feature whenever you think of it. Most homeowners forget about their opener once it’s working, which is fine until something fails. Mark your calendar for an annual checkup of all moving parts, especially if you live in a climate with temperature extremes that stress motors and hardware.