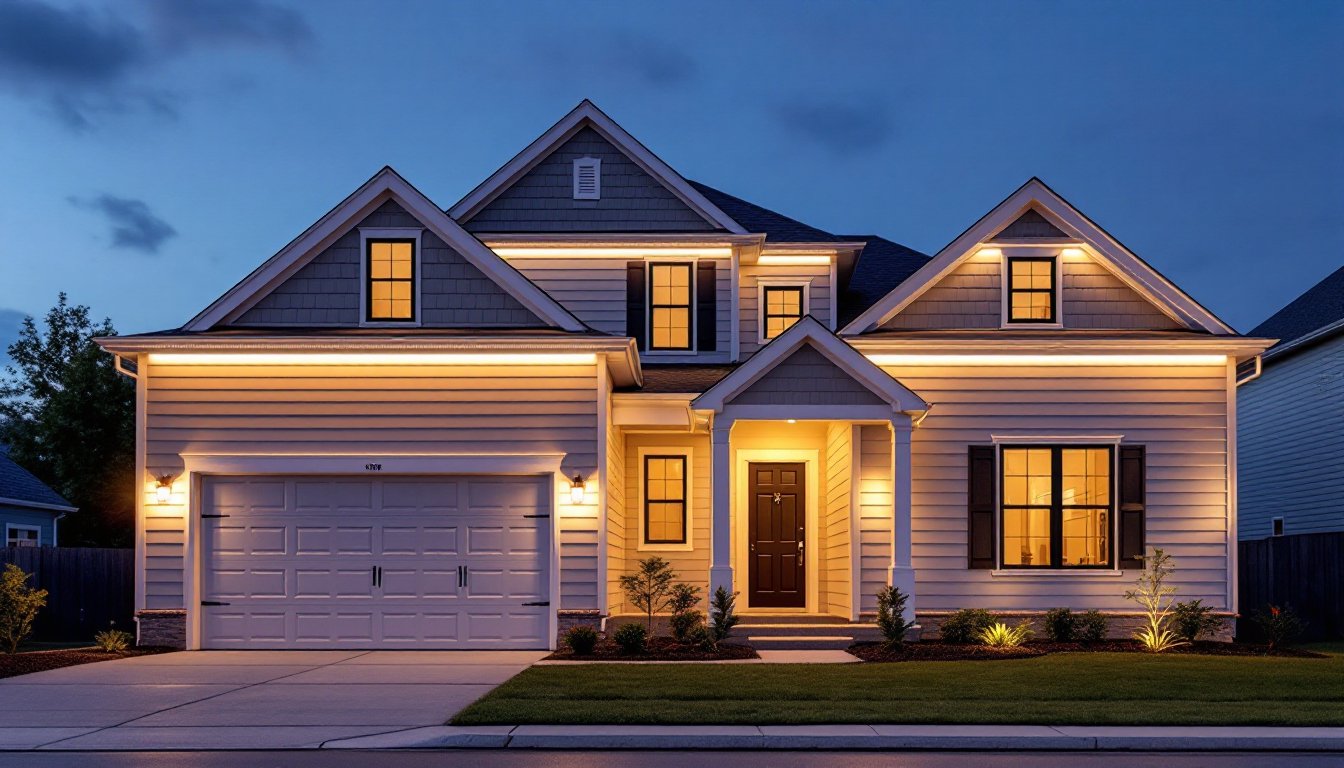
Smart soffit lighting has shifted from a luxury feature to a practical upgrade that homeowners can install in a weekend. These low-profile LED strips tuck into the underside of roof overhangs, washing exterior walls with color-changing light that responds to voice commands, timers, or motion sensors. Unlike traditional landscape lighting that requires separate fixtures and wiring runs, soffit systems use hidden channels and plug-and-play connectors. The result is clean architectural lighting that highlights trim, improves nighttime security, and syncs with your existing smart home ecosystem without the visual clutter of spotlight housings or stake lights.
Table of Contents
ToggleKey Takeaways
- Smart soffit lighting systems use hidden RGBW LED strips that integrate with voice assistants and smart home hubs, delivering architectural accent lighting without visible fixtures or regular maintenance.
- Installation is a weekend DIY project requiring surface prep, aluminum channels, weatherproof connections, and proper sealing—expect 4–6 hours for a typical single-story home with 80–100 feet of soffit.
- Energy efficiency and security benefits stand out: LED systems draw 60–80 watts at full brightness (compared to older floodlights) while motion-activated lighting deters break-ins and improves nighttime visibility.
- Choose RGBW over RGB for cleaner whites and better pastel tones, and verify IP65 minimum weatherproofing on strips plus IP66–IP67 on connectors to ensure durability against UV and temperature swings.
- Integrate smart soffit lighting with automations like sunset activation, motion-triggered security alerts, and geofencing to create seamless smart home routines that adjust seasonally without manual intervention.
- Critical installation mistakes include skipping surface prep (causing adhesive failure), using indoor-rated connectors, over-tightening screws on vinyl soffits, and neglecting to seal penetrations—all lead to moisture damage and premature failure.
What Is Smart Soffit Lighting and Why It’s Trending
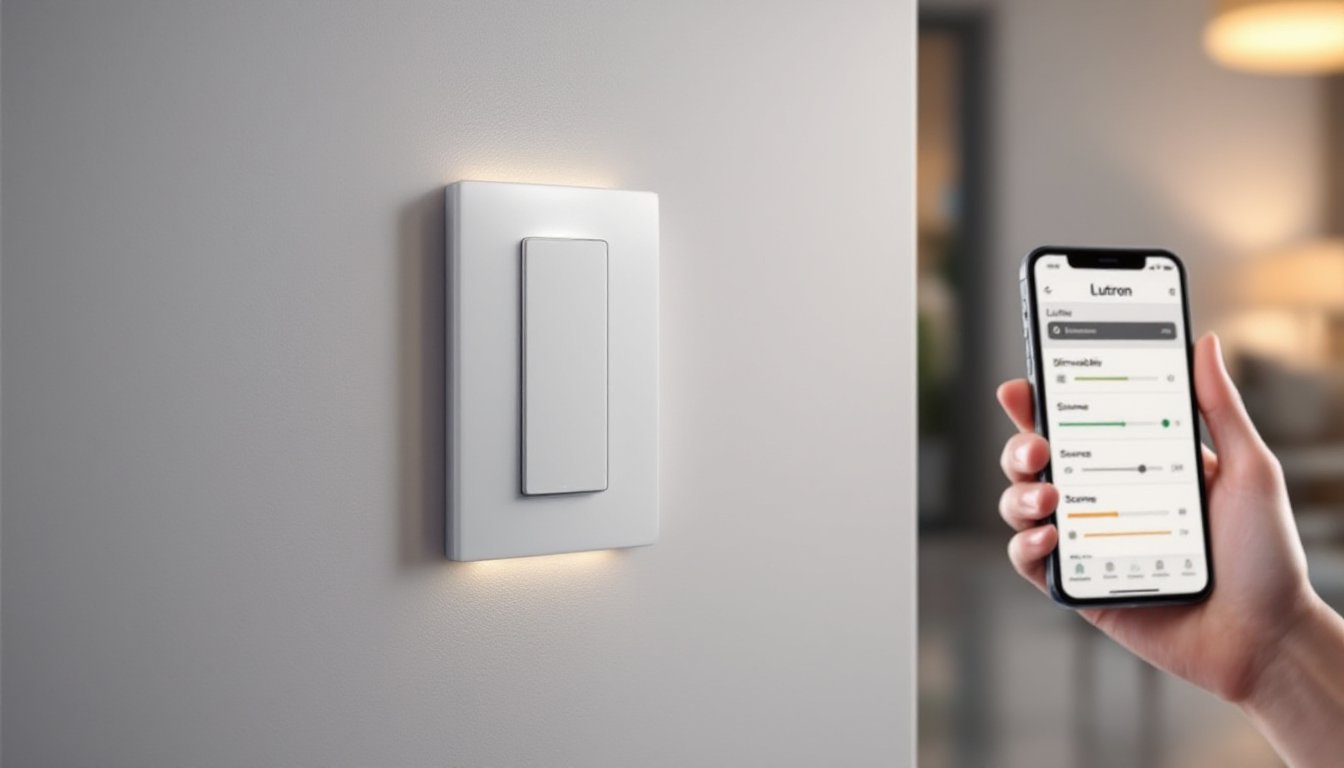
Smart soffit lighting consists of RGBW LED strips or linear fixtures mounted inside the soffit (the horizontal panel under your roof eaves). These systems integrate with Wi-Fi, Zigbee, or Z-Wave hubs, allowing control via smartphone apps, voice assistants like Alexa or Google Assistant, and automation routines.
The trend took off because homeowners wanted architectural accent lighting without the maintenance headaches of traditional outdoor fixtures. Older landscape spotlights rust, require bulb replacements, and often create harsh shadows. Soffit lighting produces an even uplight wash that showcases siding texture, stone facades, or board-and-batten details while staying completely hidden from street view.
Installation became accessible in the past few years thanks to standardized IP65-rated LED strips with peel-and-stick backing, pre-wired junction boxes, and outdoor-rated smart controllers that don’t require an electrician for low-voltage runs. Many systems now ship with aluminum channels that double as heat sinks and mounting tracks, eliminating the need for custom fabrication.
The seasonal appeal matters too. Homeowners switch from warm white for everyday use to red and green for holidays or team colors for game nights, all from a phone. That flexibility beats stringing temporary lights every December or hiring a service to swap out bulbs.
Key Benefits of Installing Smart Soffit Lights
Enhanced curb appeal comes first. Uplighting from the soffit creates depth and highlights architectural features that disappear after sunset. A two-story colonial with vinyl siding gains dimension when each floor is washed in subtle white light. Brick or stone facades pop when side-angled strips graze the texture.
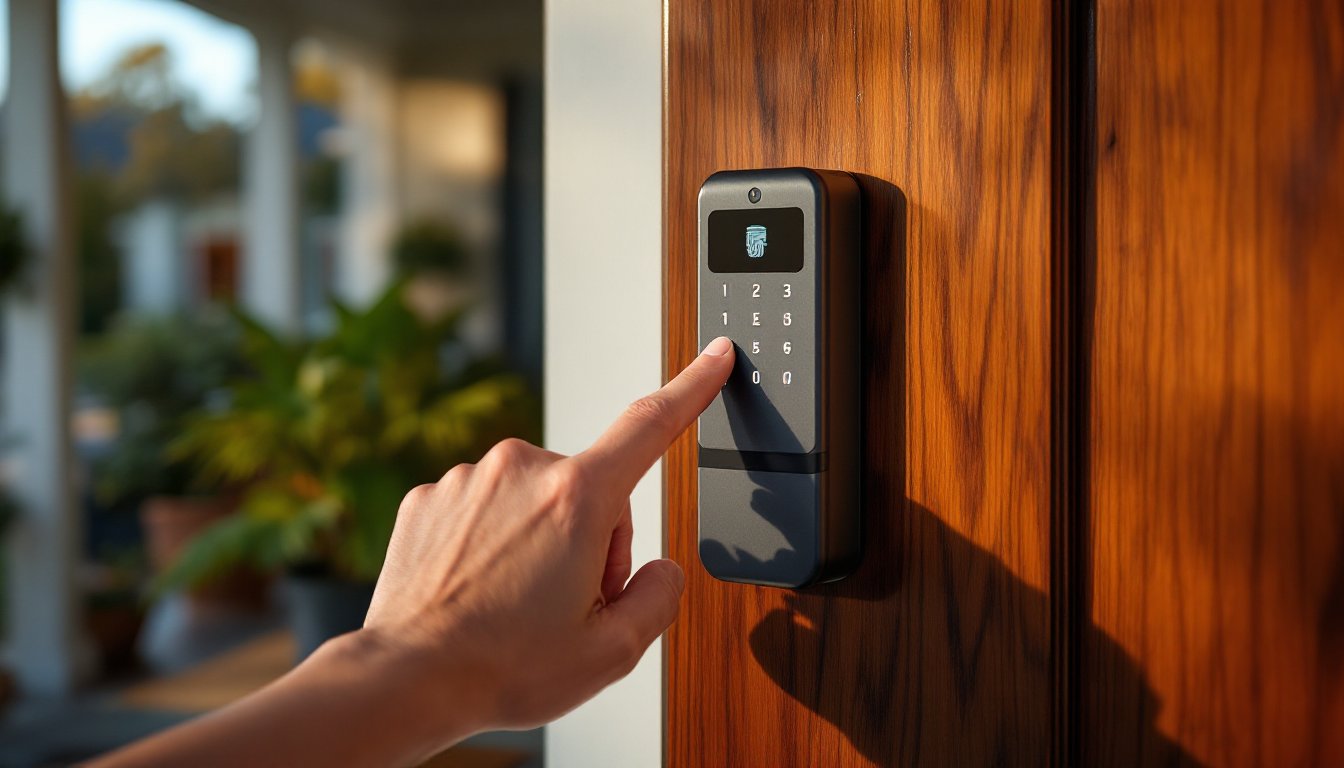
Security improvement is measurable. Motion-activated soffit lighting eliminates dark zones near entry points. Studies show that well-lit perimeters deter opportunistic break-ins more effectively than visible cameras alone. Pair soffit lights with a schedule that mimics occupancy when you’re traveling, and the house never looks empty.
Energy efficiency beats older halogen or incandescent landscape lighting by a wide margin. A typical 50-foot soffit run using RGBW LED strips draws 60–80 watts at full brightness, roughly the same as a single old-school floodlight. Dimming and scheduling features cut consumption further. Most systems pull under 10 watts in standby mode.
Low maintenance is the practical win. LEDs rated for 50,000 hours mean a decade-plus of use before replacement. No ladder work to change bulbs in hard-to-reach soffits. Weather-sealed connectors and UV-resistant housings handle rain, snow, and summer heat without the corrosion that kills standard outdoor fixtures in three to five years.
Integration with smart home routines ties everything together. Set lights to turn on at dusk, shift to dim red when you arm the security system, or flash blue when the doorbell rings. Voice control means you can light up the driveway while carrying groceries, and geofencing can trigger lights when your phone enters the property boundary.
Choosing the Right Smart Soffit Lighting System for Your Home
Start by measuring total soffit length and noting any corners, vents, or obstructions. Most systems sell in 16-foot or 32-foot reels with cuttable segments every 2 or 4 inches at marked copper pads. Add 10% to your measurement for waste and routing around obstacles.
Power supply capacity matters. Calculate total wattage: if your LED strip draws 4 watts per foot and you’re running 100 feet, you need a 400-watt power supply with some headroom. Many manufacturers bundle controllers with matching transformers, but aftermarket supplies work if they match voltage (usually 12V or 24V DC) and provide adequate amperage.
Weatherproofing rating must meet outdoor use. Look for IP65 minimum on the strips (protection against water jets) and IP66 or IP67 on connectors and controllers. Cheaper indoor strips with silicone coating will fail within a season when exposed to UV and temperature swings.
Decide between RGB (red, green, blue) and RGBW (adds dedicated white LEDs). RGBW produces cleaner whites and better pastel tones. Pure RGB systems create white by mixing all three colors, which looks slightly purple or blue and wastes more power. For architectural lighting where you’ll use white most often, RGBW is worth the 20–30% price premium.
Mounting method depends on soffit material. Vinyl and aluminum soffits often need adhesive-backed aluminum channels to avoid heat warping. Wood soffits accept channels screwed directly into the surface. Perforated or vented soffits require creative routing, sometimes installers run strips just inside the fascia board instead.
Top Features to Look For
Dimming range separates good systems from frustrating ones. Look for 0–100% dimming without flicker or color shift. Cheap controllers cut out below 10% or produce visible strobing at low levels.
Color accuracy shows up in side-by-side comparisons. Better strips use high-CRI LEDs (Color Rendering Index above 85) that display true reds and greens instead of washed-out neon tones. This matters for holiday colors and architectural accent work.
Smart platform compatibility determines long-term flexibility. Native integration with HomeKit, SmartThings, or Home Assistant beats proprietary apps that disappear when the manufacturer folds. Zigbee and Z-Wave devices work with multiple hubs: Wi-Fi-only systems lock you into one ecosystem.
Weather-resistant controllers need proper enclosures. Many homeowners installing smart home lighting systems overlook the fact that controllers generate heat and attract moisture. Mount them in waterproof junction boxes or under eaves where they stay dry but ventilated.
Expandability matters if you plan to add zones. Some controllers support multiple outputs with independent control: others daisy-chain additional strips on a single channel. Decide upfront whether you want to control front and back soffits separately or run them as one unified zone.
DIY Installation Guide: Step-by-Step Setup
Safety first: Turn off power at the breaker if tapping into existing outdoor circuits. Wear safety glasses and gloves when cutting aluminum channels or drilling into fascia. Use a stable ladder rated for your weight plus tool load, and have a second person steady it when working above 12 feet.
Materials and tools needed:
• LED strip lights (RGBW, IP65 or higher)
• Aluminum mounting channel cut to length
• Smart controller with outdoor-rated power supply
• Weatherproof wire connectors and junction box
• Drill with bits for pilot holes
• Tin snips or hacksaw for channel cutting
• Isopropyl alcohol and rags for surface prep
• Silicone sealant (outdoor-rated, clear or color-matched)
• Cable clips or staples for low-voltage wire management
Step-by-step installation:
-
Clean the soffit surface. Wipe down mounting areas with isopropyl alcohol to remove dust, cobwebs, and oxidation. Adhesive backing won’t stick to dirty or damp surfaces. Let dry completely.
-
Cut and mount channels. Measure each soffit run and cut aluminum channels with tin snips or a hacksaw. Miter corners at 45 degrees for clean turns. Drill pilot holes every 18–24 inches and secure channels with stainless steel screws. For vinyl soffits, avoid over-tightening, snug is enough.
-
Install LED strips in channels. Peel the backing and press strips firmly into the channel, working from one end to avoid air bubbles. At corners, cut strips at the marked copper pads (usually every 2–4 inches) and use corner connectors or solder jumper wires. Test the connection before moving on.
-
Route wiring to the controller. Run low-voltage wire from the last strip segment to the controller location. Use cable clips along the soffit edge or fascia to keep wires tidy and protected. Leave 6 inches of slack at each connection point.
-
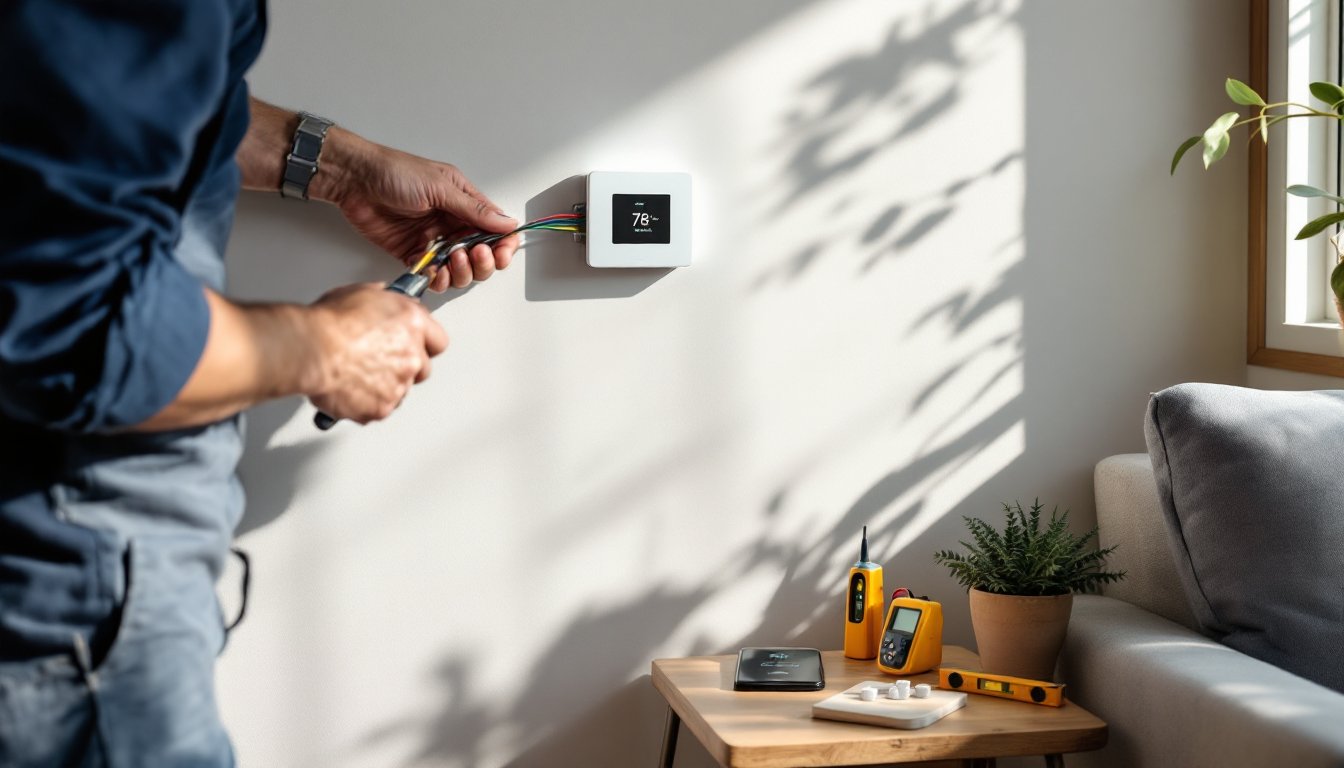
Mount the controller and power supply. Install a weatherproof junction box on an exterior wall near a GFCI outlet or hardwire into an existing outdoor circuit (requires basic electrical knowledge, hire an electrician if unsure). Mount the controller inside the box and connect the power supply per manufacturer wiring diagrams. Most systems use screw terminals or push connectors.
-
Wire the LED strips to the controller. Match positive/negative leads and color channels (red, green, blue, white). Use weatherproof wire nuts or heat-shrink connectors, never twist and tape outdoors. Double-check polarity: reversing it can damage LEDs.
-
Seal all penetrations. Apply a bead of outdoor-rated silicone around screw holes, wire entry points, and channel ends to prevent water intrusion. This step matters more than most DIYers realize, moisture inside channels causes corrosion and shorts.
-
Test before final securing. Power on the system and cycle through colors and brightness levels. Walk around the house at dusk to check for dark spots or color mismatches. Adjust strip placement if needed before applying final sealant.
Common install mistakes: Skipping surface prep leads to strips falling within weeks. Using indoor-rated wire connectors causes failures after the first rain. Over-tightening screws in vinyl cracks the soffit. Not leaving slack at connections makes future repairs difficult.
Expect 4–6 hours for a typical single-story home with 80–100 feet of soffit. Two-story homes or complex rooflines double that. A second pair of hands speeds up ladder work and helps route wiring through tight spots.
Smart Control Options and Integration Tips
Most systems ship with a dedicated smartphone app that handles color selection, scheduling, and scenes. These apps work fine for standalone control but don’t integrate with other smart home devices. For true automation, connect the controller to a central hub.
Wi-Fi controllers pair directly with Alexa or Google Assistant without a hub. Voice commands work well for on/off and basic color changes (“Alexa, set soffit lights to blue”), but complex scenes and automations require the manufacturer’s app. Wi-Fi devices can saturate your network if you’re running a dozen smart home products: consider a dedicated IoT network on a separate SSID.
Zigbee and Z-Wave systems require a compatible hub (SmartThings, Hubitat, Home Assistant) but offer more reliable mesh networking. Zigbee controllers often cost less than Wi-Fi equivalents and respond faster to commands since they’re not pinging cloud servers. The tradeoff is initial setup complexity, you’ll pair devices through the hub interface instead of a standalone app.
Owners of connected home devices typically set up automations that trigger soffit lighting based on motion sensors, door contacts, or time-of-day rules. Popular routines include:
• Sunset activation: Lights turn on warm white at 50% brightness when the sun sets, then shift to 10% after midnight.
• Security mode: Motion near entry points triggers full-brightness white and sends phone notifications.
• Holiday themes: Scheduled color changes for Halloween, Christmas, or July 4th without manual adjustment.
• Weather response: Integration with forecast APIs dims lights during rain or snow to reduce glare.
Voice control works best with simple commands. Say “turn on driveway lights” instead of complex color requests, set up scenes in the app first (e.g., “Movie Night” for dim red) and trigger them by name. Multi-step routines combining soffit lights with porch lights and door locks create one-command arrival or departure scenes.
Geofencing automates lighting based on phone location. Lights turn on when you’re a mile from home and shut off 30 minutes after you leave. This feature drains phone battery slightly and occasionally misfires if multiple household members have different schedules, but it’s popular among homeowners upgrading exterior lighting.
HomeKit users get native integration with the Home app and Siri control. Look for controllers labeled “Works with Apple HomeKit” or use a Homebridge plugin to bridge non-native devices. HomeKit’s local control (no cloud dependency) keeps lights responsive even when your internet is down.
Scheduling tips: Avoid hard-coded on/off times. Use sunrise/sunset offsets instead (e.g., “30 minutes before sunset”) so schedules adjust automatically as seasons change. Layer a random variance of ±10 minutes to mimic human behavior when you’re away.
For multi-zone setups, group lights by location (front soffit, back soffit, garage) and create scenes that control all zones simultaneously. This prevents the tedious task of adjusting each zone separately when you want consistent color across the house.
Conclusion
Smart soffit lighting delivers architectural accent, security, and seasonal flexibility in one hidden system. Most DIYers with basic electrical knowledge can complete installation in a weekend using off-the-shelf components and standard tools. Focus on proper surface prep, weatherproof connections, and choosing a controller that integrates with your existing smart home platform. The upfront effort pays off in years of low-maintenance exterior lighting that adapts to holidays, security needs, and daily routines without climbing a ladder or changing a bulb.