Smart home technology has moved beyond novelty into practical, everyday utility. Homeowners can now control climate, lighting, security, and entertainment from a single app, or with voice commands. But the leap from “add to cart” to “working device” trips up plenty of people. Poor Wi-Fi planning, incompatible hubs, and skipped prep steps turn simple installs into frustrating afternoons. This guide walks through the real-world process of installing common smart devices, from unboxing to troubleshooting. Whether it’s a smart thermostat replacing an old dial unit or a voice assistant joining the living room, the steps below cover what actually matters.
Table of Contents
ToggleKey Takeaways
- Smart home device installation requires proper Wi-Fi planning and infrastructure assessment—test signal strength in every room before purchasing devices to avoid connectivity failures.
- Verify device and hub compatibility before buying; mixing incompatible ecosystems like Amazon Alexa, Google Home, and Samsung SmartThings will leave devices unable to communicate.
- Smart thermostat installation demands special attention to wiring, particularly the C-wire (common)—turn off power at the breaker, label all wires, and consult a professional if your system has more than four wires or lacks a C-wire.
- Essential tools for smart home device installation include a voltage tester, wire strippers, screwdrivers, and a level, but always prioritize safety gear like glasses and work gloves when handling electrical components.
- Troubleshoot Wi-Fi connection issues by disabling 5 GHz during setup, checking for special password characters, and moving devices closer to the router—weak signals are the most common cause of installation problems.
- Start with plug-and-play devices like smart speakers to learn your ecosystem, then progress to more complex wired installations like smart switches and thermostats as your confidence grows.
What You Need to Know Before Installing Smart Home Devices
Before drilling holes or pulling wires, assess the home’s infrastructure. Most smart devices require Wi-Fi, and coverage matters. A router in the basement won’t reliably reach a smart lock on the third floor. Walk through the house with a phone and test signal strength in each room where a device will live. If bars drop below three, consider a mesh Wi-Fi system or range extender.
Check compatibility between devices and hubs. Some gadgets work with Amazon Alexa, Google Home, or Apple HomeKit: others require proprietary hubs like Samsung SmartThings or Philips Hue Bridge. Mixing ecosystems without checking compatibility leads to devices that can’t talk to each other. Read spec sheets and confirm integration before buying.
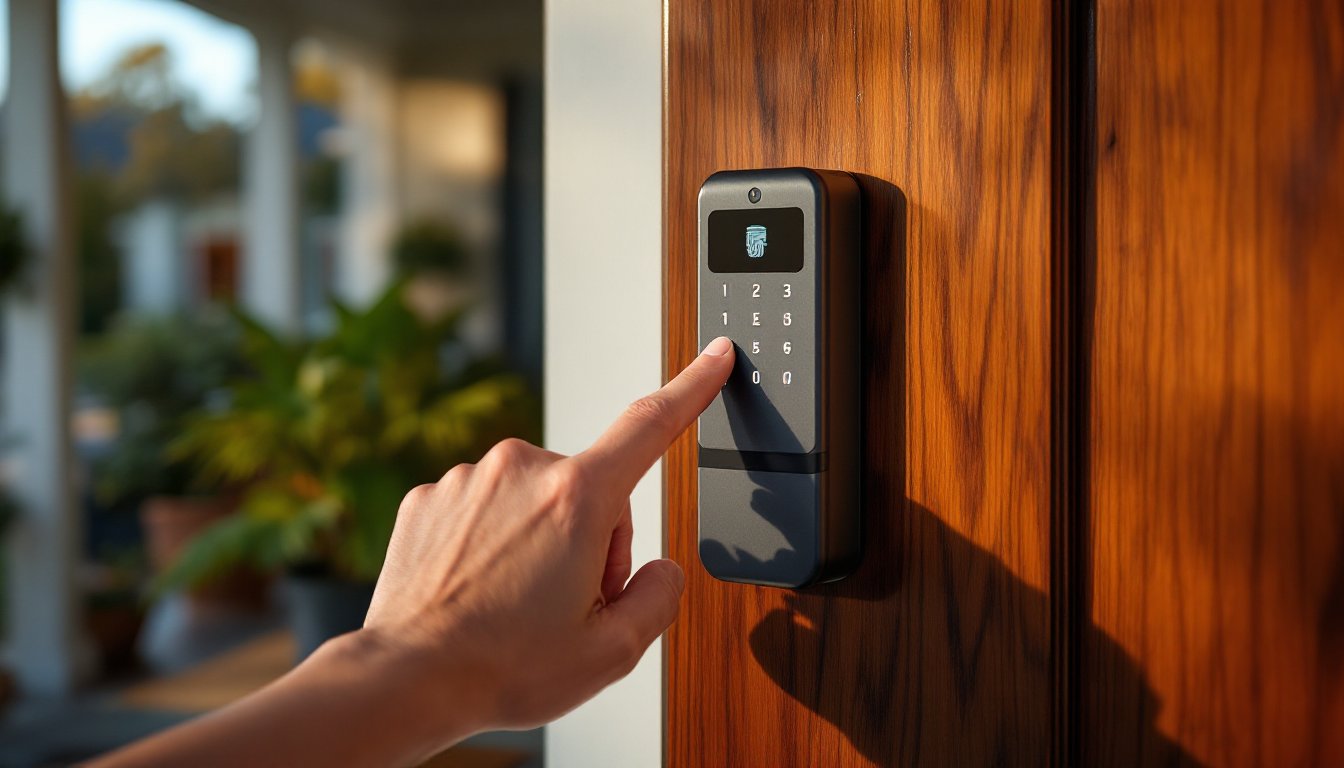
Identify which installations touch existing electrical or HVAC systems. Smart thermostats often replace units wired into 24V HVAC circuits. If the current thermostat has more than four wires, especially C-wire (common), take a photo before disconnecting anything. Homes without a C-wire may need an adapter or professional help. Smart switches replacing traditional wall switches require working with 120V household current, which poses shock risk. If the breaker box is unfamiliar territory, hiring an electrician is the smarter move.
Building codes and permits vary by jurisdiction. Replacing a thermostat typically doesn’t require a permit, but adding new electrical circuits or modifying load-bearing walls does. Check local requirements before starting work that involves structural changes or new wiring runs.
Essential Tools and Equipment for Smart Device Installation
Most smart device installs don’t require a full workshop, but a few tools make the job cleaner and safer. Keep these on hand:
Basic toolkit:
- Phillips and flathead screwdrivers (magnetic tips help with small screws)
- Wire strippers (for thermostat or switch installs)
- Voltage tester or non-contact voltage detector (essential for any electrical work)
- Drill and bits (for mounting brackets or running cable)
- Level (even small smart displays look sloppy if crooked)
- Needle-nose pliers (for bending and tucking wires)
- Stud finder (for secure wall mounting)
- Smartphone or tablet (for setup apps and troubleshooting)
Safety gear:
- Safety glasses (especially when drilling overhead)
- Work gloves (when handling rough surfaces or pulling cable)
- Dust mask (if drilling into drywall or old plaster)
For homes employing smart home strategies, a label maker helps track devices and circuits during multi-room installs. A headlamp beats a flashlight when working inside electrical boxes or behind furniture.
Some tasks need specialized tools. Installing a smart doorbell with chime wiring might require a multimeter to test transformer voltage (usually 16V AC). Running Ethernet cable for hardwired devices calls for a cable tester and crimping tool. Substitutes exist, most smartphone apps can test Wi-Fi strength in place of professional network analyzers, but don’t skimp on the voltage tester. It’s cheap insurance against electrocution.
Step-by-Step Installation Process for Common Smart Devices
Smart Speakers and Displays
Smart speakers like Amazon Echo or Google Nest Audio are plug-and-play devices, but placement affects performance. Avoid corners, which muddle voice recognition, and keep speakers at least three feet from walls to prevent bass distortion.
- Unbox and plug in. Use the included power adapter: third-party adapters may underdeliver voltage and cause reboots.
- Download the manufacturer’s app (Alexa app for Echo, Google Home for Nest).
- Connect to Wi-Fi. The app will scan for the device and prompt for network credentials. Use the 2.4 GHz band if the device supports only that frequency: 5 GHz offers faster speeds but shorter range.
- Complete voice training. Apps often ask users to repeat phrases so the assistant learns speech patterns. Don’t skip this, it improves accuracy.
- Group devices by room in the app. This lets commands like “turn off the bedroom lights” work without specifying individual bulbs.
For displays like Echo Show or Google Nest Hub, mounting is optional but keeps counters clear. Use the included stand, or buy a wall mount rated for the device’s weight (usually 1–2 lbs). Run the power cable through a wall channel or use adhesive clips to keep it tidy. Many homeowners starting with connected living basics find voice assistants the easiest first step.
Smart Thermostats and Lighting Systems
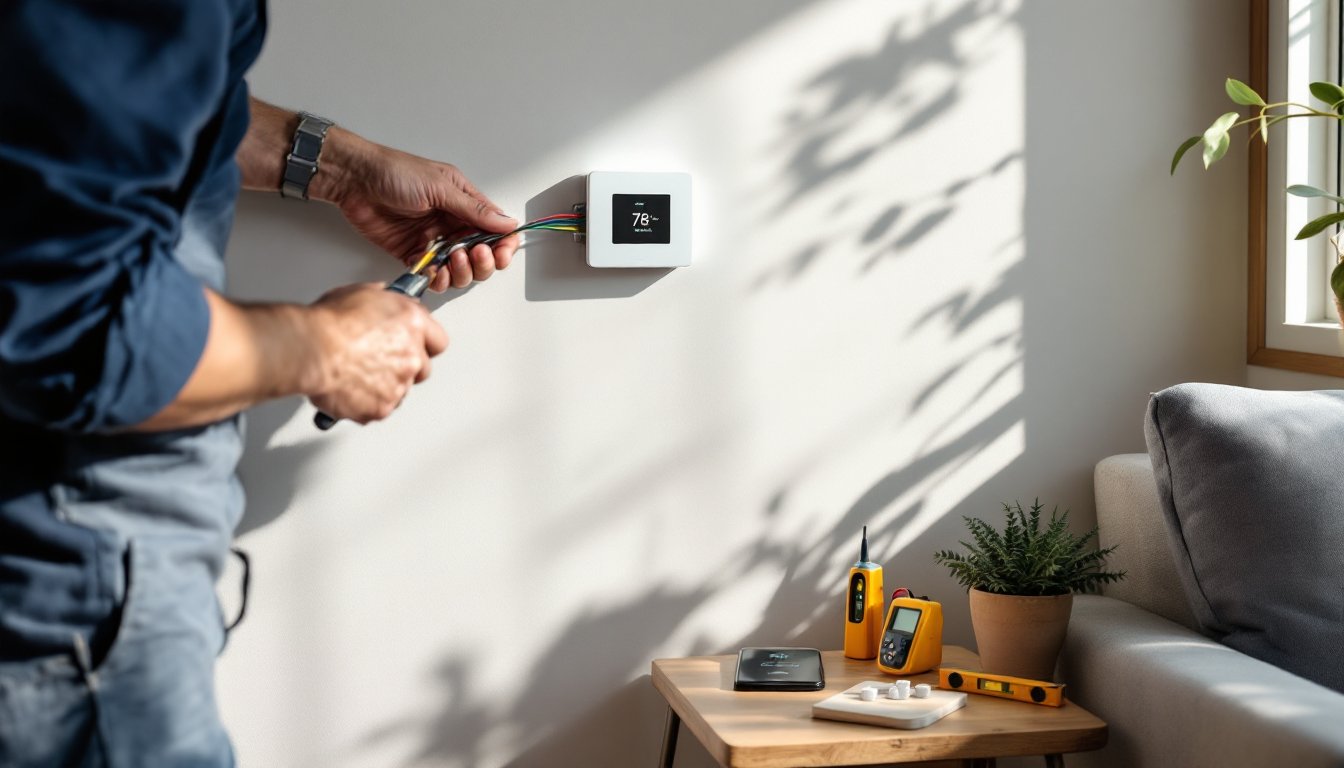
Smart thermostats like Nest Learning Thermostat or Ecobat SmartThermostat replace traditional units but require more care. Turn off power at the breaker before touching wires. Label each wire with the terminal letter (R, W, Y, G, C) using the stickers included in most kits.
- Remove the old thermostat. Unscrew the faceplate and disconnect wires. If there’s no C-wire (common, usually blue), check if one is tucked behind the wall plate. Some HVAC systems have an unused wire that can be repurposed.
- Install the backplate. Level it carefully, thermostats with displays look awful if tilted. Mark screw holes, drill pilot holes in drywall, and use included anchors.
- Connect wires to terminals. Match wire labels to the new thermostat’s terminals. Wires should be stripped 1/4 inch and inserted firmly. Loose connections cause system failures.
- Attach the thermostat faceplate and restore power. The device will boot and prompt for Wi-Fi setup through its touchscreen.
- Configure heating and cooling settings. The app will ask about system type (forced air, heat pump, radiant) and fuel (gas, electric, oil). Wrong settings can short-cycle the HVAC or prevent heating. Following a proper thermostat installation guide reduces the risk of wiring mistakes.
If the system has more than four wires or lacks a C-wire, consider an add-a-wire adapter or consult an HVAC tech. Forcing installation without proper power causes the thermostat to reboot or fail to call for heat.
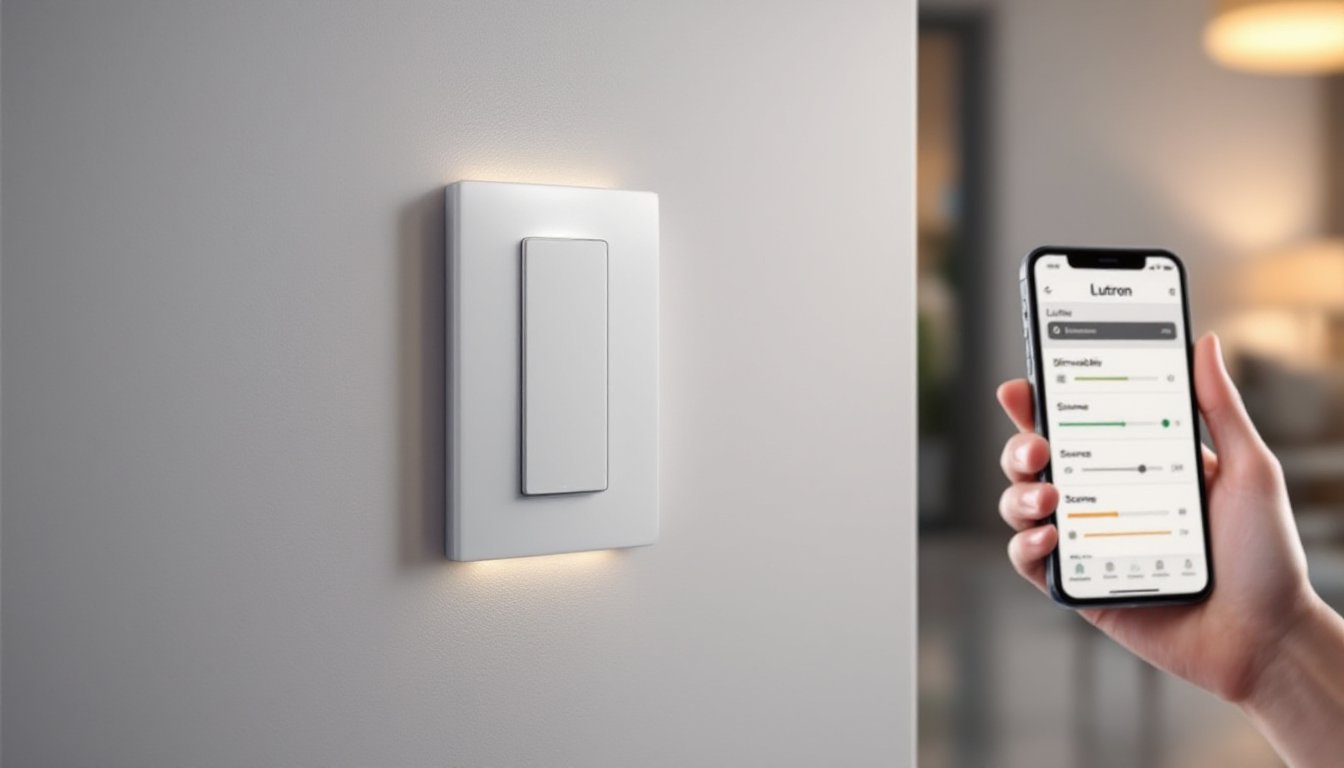
Smart lighting comes in two forms: smart bulbs and smart switches. Smart bulbs (like Philips Hue or LIFX) screw into existing sockets. Pair them via the manufacturer’s app or hub, then group by room. Keep the wall switch on, turning it off cuts power to the bulb, breaking smart control.
Smart switches replace traditional switches and control any bulb. This is the better choice for fixtures with multiple bulbs or permanent fixtures. Turn off the breaker controlling the switch. Remove the old switch and note wire connections: usually a hot wire (black), load wire (black or red), neutral wire (white), and ground wire (bare copper or green).
- Connect the smart switch. Most require a neutral wire: older homes with two-wire setups (hot and load only) need a neutral-free switch like Lutron Caseta.
- Secure wires with wire nuts and tuck them into the box. Overstuffing causes overheating, so fold wires neatly.
- Attach the switch to the box and restore power.
- Pair with the app. Some switches require holding a pairing button for several seconds. For smart home tools to function together, ensure they share a common hub or protocol like Zigbee or Z-Wave.
Never work on live circuits. A non-contact voltage tester confirms power is off before touching wires. If the box is metal and crowded, or if wires are old cloth-insulated types, call an electrician. Installing devices with proper technique prevents safety hazards and malfunctions.
Troubleshooting Common Installation Challenges
Device won’t connect to Wi-Fi: Confirm the router broadcasts a 2.4 GHz network. Many dual-band routers combine 2.4 GHz and 5 GHz under one SSID, confusing older devices that only see 2.4 GHz. Temporarily disable 5 GHz, complete setup, then re-enable it. Check for special characters in the Wi-Fi password, some devices reject symbols like & or #. Move the device closer to the router during setup: once connected, it can return to its permanent spot.
Thermostat shows “No power” or reboots randomly: This usually indicates a missing C-wire. Without continuous 24V power, the thermostat steals power from the heating or cooling circuit, which causes short cycling. Install a C-wire adapter at the furnace, or upgrade the wiring. Don’t ignore this, improper power can damage HVAC equipment. Double-checking thermostat compatibility before buying saves headaches.
Smart switch doesn’t fit in the box: Smart switches are thicker than traditional switches, and old 2-inch-deep boxes get crowded fast. Fold wires accordion-style instead of coiling them. If it still won’t fit, replace the box with a 4-inch-deep old-work box. Cut out the old box (turn off power first), slide in the new one, and clamp it to the drywall. Forcing a switch into an undersized box is a fire hazard.
Voice commands don’t trigger devices: Check device grouping in the app. If a bulb is assigned to “Living Room” but the command says “Bedroom,” nothing happens. Rename devices with simple, distinct names, “floor lamp” beats “mid-century modern walnut tripod lamp.” For homeowners who are getting started with automation, clear naming conventions prevent confusion.
Intermittent connectivity or “device unreachable” errors: Weak Wi-Fi is the usual culprit. Devices far from the router or behind thick walls drop offline. A mesh Wi-Fi system eliminates dead zones by placing nodes throughout the house. Alternatively, some smart devices support Ethernet backhaul, run a cable from the router to a hub or switch, then connect devices via Zigbee or Z-Wave instead of relying on Wi-Fi.
App says firmware update required, then fails: Restart the device by unplugging it for 30 seconds. Restart the router, too. If updates keep failing, delete and reinstall the app, then re-add the device. Some manufacturers release buggy updates: check online forums to see if others report the same issue before troubleshooting further.
Conclusion
Smart home devices deliver real convenience, once they’re installed correctly. Strong Wi-Fi, compatible hubs, and attention to wiring details make the difference between a smooth setup and a frustrating one. Most installs need only basic tools and patience, but knowing when to call a professional prevents safety issues and wasted time. Start with simple plug-and-play devices to learn the ecosystem, then tackle wired installations as confidence builds.