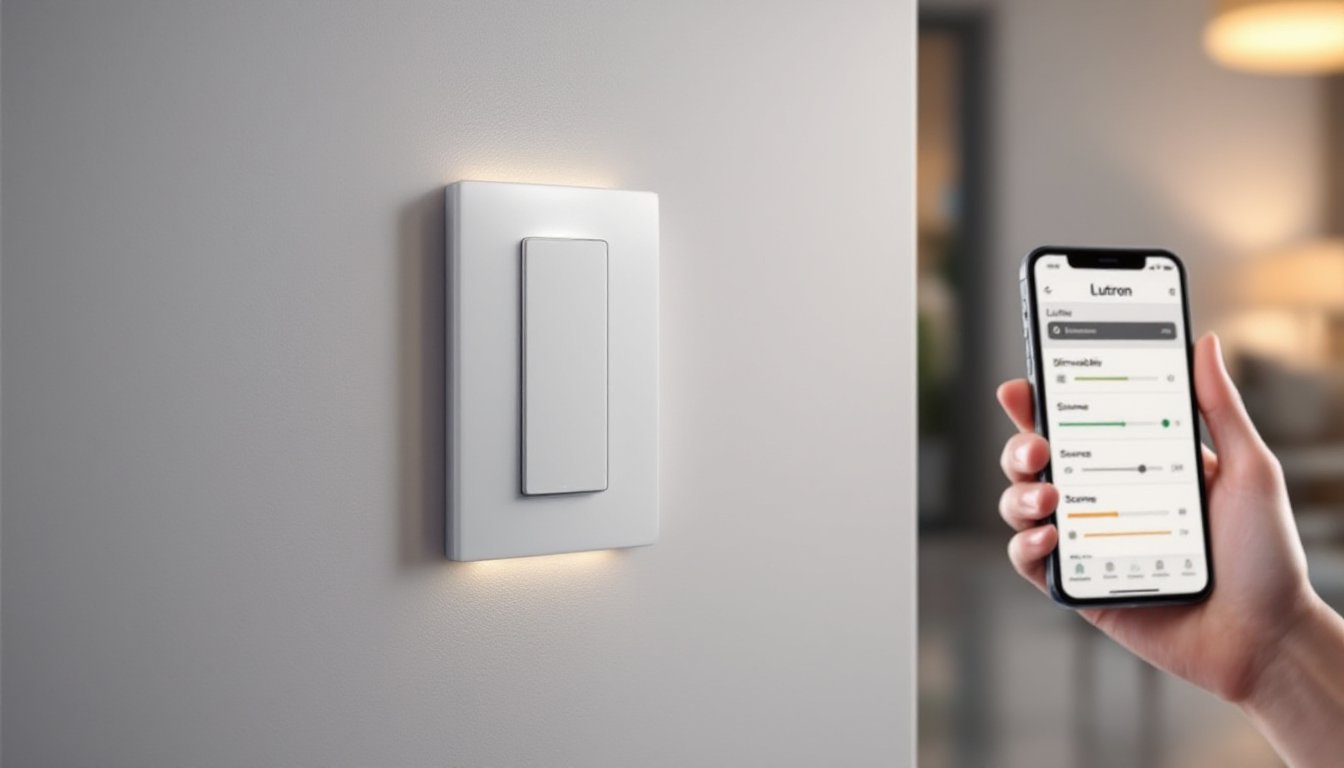
The Lutron Caseta Wireless Smart Lighting Dimmer Switch has earned its reputation as one of the most reliable smart lighting controls on the market. Unlike many smart switches that require a neutral wire or suffer from connectivity issues, Caseta’s proprietary Clear Connect RF technology delivers consistent performance without the headaches. This guide walks through everything needed to install, configure, and get the most out of this dimmer system, from understanding what makes it different to creating automated lighting schedules that actually work in daily life.
Table of Contents
ToggleKey Takeaways
- The Lutron Caseta wireless smart lighting dimmer switch uses Clear Connect RF technology operating on a dedicated 434 MHz frequency, avoiding Wi-Fi congestion and delivering consistent performance.
- Unlike most competing smart switches, the Caseta dimmer works without a neutral wire, making it ideal for older homes and eliminating expensive rewiring costs.
- Installation is DIY-friendly for basic electrical knowledge; the switch requires only hot, load, and ground connections and includes an LED locator light for nighttime visibility.
- The Caseta system integrates with all major smart home platforms (Alexa, Google Assistant, Apple HomeKit, SmartThings) and requires the Smart Hub for remote access and automation features.
- Scenes and schedules stored locally on the Smart Hub continue functioning during Wi-Fi outages, providing superior reliability compared to cloud-dependent smart lighting alternatives.
- Compatibility with dimmable ELV/TRIAC-rated LED bulbs is essential for optimal performance; non-compatible bulbs may flicker or refuse to dim below 30% brightness.
What Makes the Lutron Caseta Dimmer Switch Stand Out?
The Caseta dimmer doesn’t rely on Wi-Fi or Zigbee like most smart switches. Instead, it uses Lutron’s Clear Connect RF technology, a dedicated wireless protocol operating on the 434 MHz frequency band. This matters because it avoids the congestion that bogs down 2.4 GHz networks crowded with phones, tablets, and streaming devices.
The switch itself doesn’t require a neutral wire, a major advantage in older homes where electrical boxes often contain only a hot wire, load wire, and ground. Most competing smart switches need that neutral, which can mean expensive rewiring or abandoning the project entirely. The Caseta works in single-pole or multi-location (3-way/4-way) setups using Pico remote accessories instead of traditional traveler wires.
One often-overlooked feature: the switch includes a small LED locator light on the paddle that glows softly in the dark, making it easy to find at night without being obnoxious. The dimming range is smooth and goes lower than many competitors, down to about 1% brightness on compatible LED and incandescent bulbs.
Key Features and Smart Home Compatibility
The Caseta dimmer integrates with nearly every major smart home platform. It works with Amazon Alexa, Google Assistant, Apple HomeKit (via the Caseta Smart Hub), Samsung SmartThings, and even professional control systems like Control4 and Crestron. This broad compatibility makes it future-proof as ecosystems evolve.
Load capacity sits at 600 watts for incandescent/halogen and 150 watts for dimmable LED/CFL bulbs. That’s enough for most residential applications, a chandelier with six 60W-equivalent LED bulbs draws roughly 60 watts total, well within range. But, reviews on CNET and similar tech sites emphasize checking bulb compatibility: not all dimmable LEDs play nice with electronic low-voltage (ELV) dimmers.
The system requires the Lutron Caseta Smart Hub (also called the Smart Bridge) for remote access and third-party integrations. The hub connects via Ethernet to the router and supports up to 75 Caseta devices, more than sufficient for whole-home coverage. Without the hub, the switches still function as standard dimmers but lose all smart features.
Step-by-Step Installation Guide for DIYers
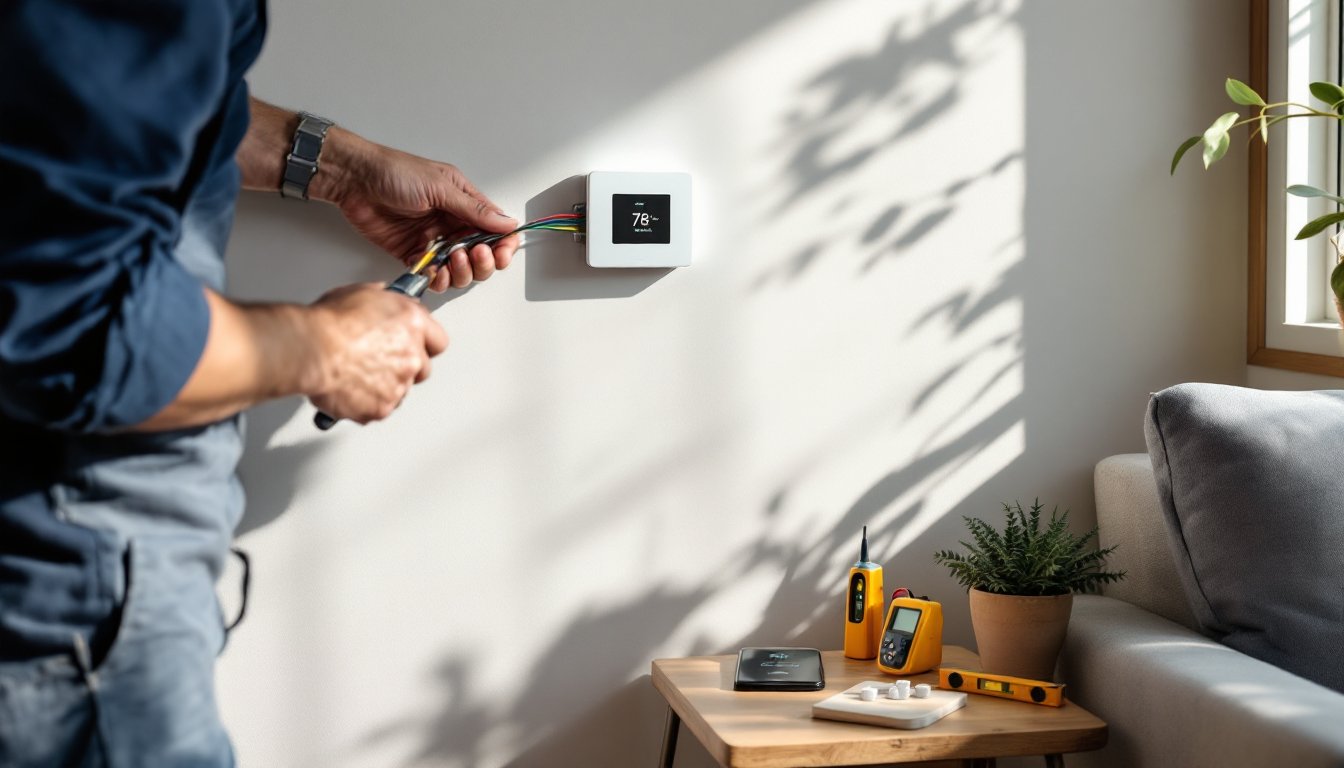
Before touching any wiring, turn off power at the circuit breaker, not just the light switch. Verify the circuit is dead using a non-contact voltage tester on all wires in the box. This isn’t optional.
Tools and materials needed:
- Non-contact voltage tester
- Flathead and Phillips screwdrivers
- Wire strippers (if trimming wire ends)
- Needle-nose pliers
- Wire nuts (provided with the switch)
- Electrical tape
- Safety glasses
Installation steps:
-
Remove the existing switch. Unscrew the cover plate, then remove the two screws holding the switch to the electrical box. Carefully pull the switch out without touching bare wire ends.
-
Identify your wires. Most boxes contain a black (hot), a second wire to the light (load), and a bare copper or green (ground). If you see a white wire bundled in the back, that’s a neutral, you won’t need it for Caseta. Mark the wire connected to the brass screw (usually the hot from the breaker) with tape before disconnecting.
-
Disconnect the old switch. Loosen terminal screws or remove wire nuts, keeping wires separated. If wires are damaged or oxidized at the ends, trim back 1/2 inch and strip 3/4 inch of insulation.
-
Connect the Caseta dimmer. The switch has two black wires and one green. Connect one black wire to the hot (from the breaker), the other black to the load (to the fixture). The green connects to the ground wire or ground screw in the box. Polarity doesn’t matter for the two black wires, if the switch doesn’t work after installation, swap them.
-
Secure and test. Twist connections clockwise, secure with wire nuts, and wrap with electrical tape for extra protection. Fold wires neatly into the box, screw the dimmer to the box using the provided screws, and attach the cover plate. Restore power and test operation manually before proceeding to setup.
Permit considerations: Replacing a switch is generally allowed under most local codes as a like-for-like swap. But, if you’re adding new circuits or converting from single-pole to multi-location control, check with your local building department. When in doubt, hire a licensed electrician, especially if the box is crowded, wires are brittle, or you’re uncomfortable working with live circuits.
For homes with three-way setups, the Caseta uses a different approach: install the Caseta dimmer at one location and replace the other switch(es) with battery-powered Pico remotes mounted on adapter plates. This eliminates the need for traveler wires and simplifies installation.
Setting Up Your Lutron Caseta System and App
After physical installation, the Caseta dimmer needs to pair with the Smart Hub. Plug the hub into power and connect it to the router via Ethernet cable, it doesn’t support Wi-Fi. The hub’s LED will blink, then turn solid white when ready.
Download the Lutron app (iOS or Android) and create an account. The app walks through adding the hub by scanning a QR code on the device or entering a serial number. Once the hub is recognized, the app prompts to add devices.
To pair a dimmer:
- Open the app and tap “Add Device.”
- Select Caseta Wireless Dimmer.
- Press and hold the dimmer’s top paddle and small programming button simultaneously until the LED blinks rapidly (about 6 seconds).
- The app confirms pairing within seconds.
Repeat for each switch. Name devices by room and function, “Kitchen Island,” “Master Bedroom Overhead,” etc. Clear labels matter when setting up automations later.
For voice control, link accounts in the Alexa, Google Home, or Apple Home app. HomeKit users scan the hub’s HomeKit code (on the device or in the Lutron app). Commands like “Alexa, dim the living room to 30%” or “Hey Google, turn off the hallway light” work immediately after linking.
Creating Lighting Scenes and Schedules
Scenes group multiple lights into a single command. In the Lutron app, tap Scenes > Create Scene, select the lights involved, and set each to the desired brightness. A “Movie Night” scene might set the TV room to 10%, turn off the hallway, and dim the kitchen to 40%. Scenes execute instantly, no lag as each switch processes commands individually.
Schedules automate lights based on time or sunrise/sunset. To create one, tap Smart Away > Add Schedule, choose lights, set times, and select days. A morning routine might gradually brighten bedroom lights from 6:00–6:30 AM on weekdays. The “Smart Away” feature randomizes lights when you’re traveling, mimicking occupancy better than simple on/off timers.
The app also supports geofencing, automatically adjusting lights when your phone enters or leaves a defined radius around home. This requires location permissions but works reliably with the Lutron app running in the background.
One practical tip: schedules and scenes stored on the hub continue working even if Wi-Fi goes down or the phone’s app isn’t running. That’s a significant advantage over cloud-dependent switches that go dumb during outages. In fact, guides from Tom’s Guide regularly highlight Lutron’s local control as a key reliability factor for smart home setups.
Real-World Performance: What to Expect in Daily Use
The Caseta dimmer responds near-instantaneously to manual presses, app commands, and voice requests. There’s no perceptible delay like some Wi-Fi switches exhibit. The paddle feels solid, satisfying tactile feedback without the cheap plasticky click of budget switches.
Dimming performance depends on bulb choice. Dimmable LED bulbs rated for ELV or TRIAC dimmers perform best. Cheap or non-dimmable LEDs may flicker, buzz, or refuse to dim below 30%. Lutron publishes a bulb compatibility list on their site, worth checking before buying.
Range isn’t typically an issue. Clear Connect reliably covers 30+ feet through walls, and each Caseta device acts as a repeater, extending the mesh network. In testing across a 2,400 sq ft two-story home, signals reached every corner without dropouts. Homes with metal framing or dense masonry may see reduced range, but that’s rare in standard wood-frame construction.
The system handles power outages gracefully. When power returns, switches resume their last state, on or off, and reconnect to the hub within seconds. Schedules and scenes stored locally pick up as programmed.
One limitation: the dimmer only works with dimmable loads. It won’t control fans, outlets, or non-dimmable fixtures without potentially damaging the bulbs or switch. For those applications, Lutron sells dedicated Caseta switches and plug-in modules.
Long-term reliability is strong. The switches have no moving parts beyond the paddle mechanism, and Lutron’s track record, decades in commercial and residential lighting control, shows in build quality. Platforms like Digital Trends consistently rank Caseta among the most dependable smart home devices, with minimal reported failures even years after installation.
Conclusion
The Lutron Caseta Wireless Smart Lighting Dimmer Switch delivers what many smart home devices promise but few achieve: reliable, fast, and genuinely useful automation without constant troubleshooting. The no-neutral-wire requirement, broad compatibility, and rock-solid Clear Connect protocol make it accessible to DIYers and practical for daily living. Installation is straightforward for anyone comfortable with basic electrical work, and the app’s scene and scheduling tools actually simplify routines rather than adding complexity. For homeowners ready to upgrade lighting control without the typical smart home headaches, Caseta remains the standard to beat.