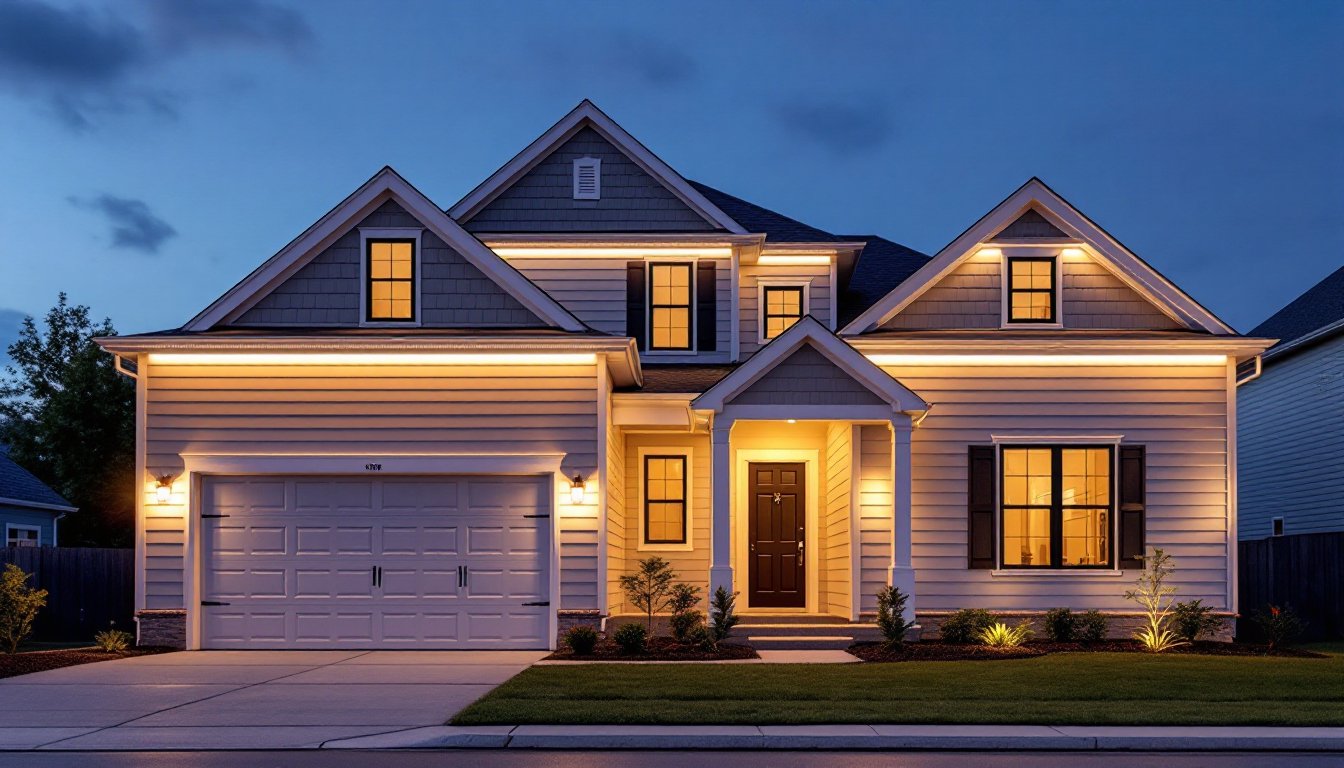

Street-style outdoor lighting isn’t just for municipalities anymore. Homeowners are installing smart street lighting systems to illuminate driveways, walkways, and property perimeters with energy-efficient, automated fixtures that adjust to ambient conditions. Unlike traditional outdoor lights on timers, these systems use sensors, wireless controls, and LED technology to cut energy costs by 50–70% while improving visibility and security. This project requires basic electrical knowledge, outdoor-rated materials, and attention to local codes, but it’s achievable for confident DIYers willing to work with low-voltage or line-voltage wiring.
Table of Contents
ToggleKey Takeaways
- Smart street lighting systems cut energy costs by 50–70% using LED fixtures with sensors and automated controls that adjust to ambient light and motion, making them an ideal driveway and perimeter security upgrade for homeowners.
- A four-fixture system covering a 150-foot driveway typically costs $1,200–$2,200 in materials for DIY installation, with ROI achievable within 3–5 years through energy savings replacing traditional halogen or HPS lighting.
- Proper installation requires digging footings 36 inches deep, trenching conduit runs at NEC-compliant depths (18–24 inches), and installing GFCI-protected circuits for outdoor safety compliance in most jurisdictions.
- Smart street lighting controllers integrate with Wi-Fi or Zigbee networks, enabling automation rules like dusk-to-dawn dimming, motion-triggered brightness increases, and voice assistant control for flexible lighting management.
- Common troubleshooting fixes include adjusting motion sensor angles 10–15 degrees downward, verifying hub-fixture protocol compatibility, increasing wire gauge to prevent voltage drop on long runs, and sealing junction boxes with dielectric grease to prevent water intrusion.
- Choose between line-voltage (120V) systems for brighter output and longer runs versus low-voltage (12V–24V) systems for easier installation and safety, recognizing that low-voltage isn’t ideal for runs exceeding 100 feet without significant wire gauge increases.
What Is a Smart Street Lighting System?
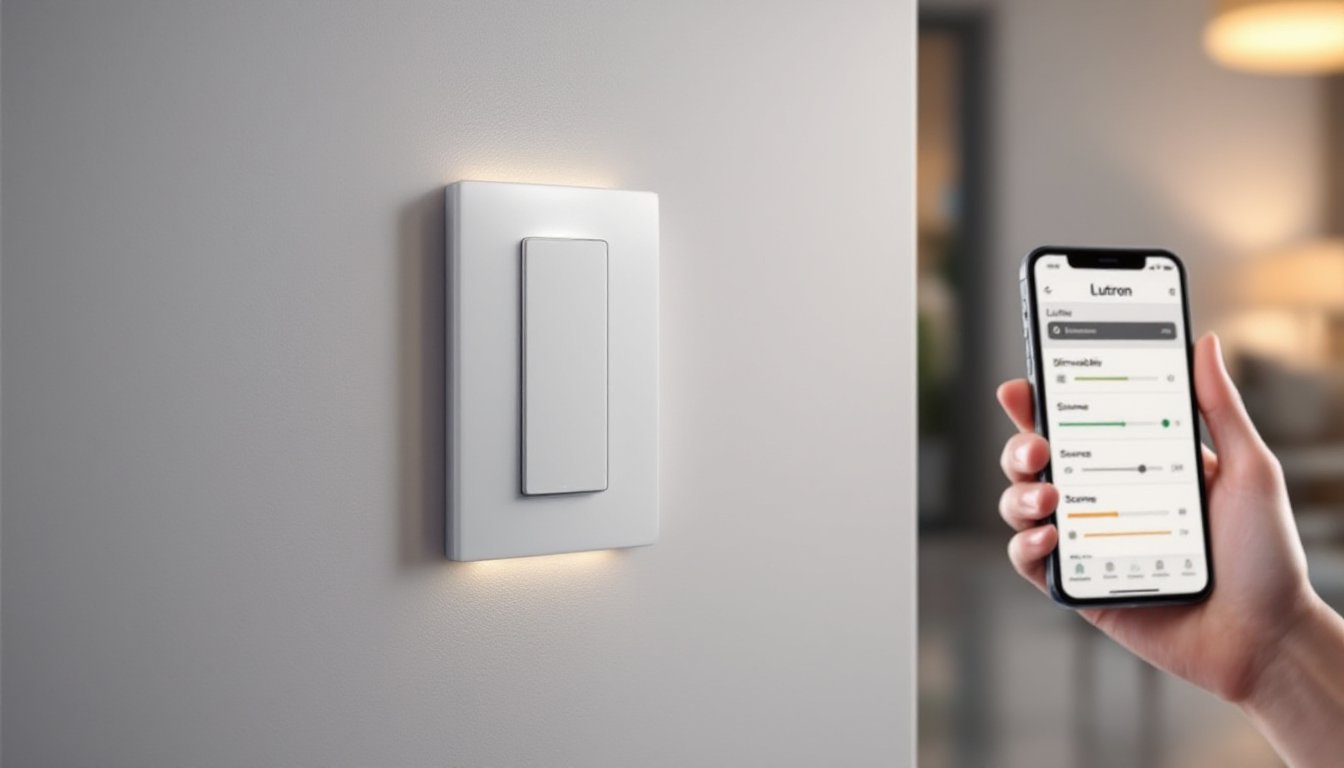
A smart street lighting system combines outdoor LED fixtures with automated controls that respond to motion, ambient light levels, or programmed schedules. Unlike a simple dusk-to-dawn photocell, these systems integrate with Wi-Fi or Zigbee networks, allowing remote control via smartphone apps and integration with broader home automation platforms.
The core elements include LED lamp heads (typically 30–150 watts equivalent), mounting poles or wall brackets, motion or ambient light sensors, and a smart controller (either built into the fixture or installed as a separate hub). Many systems also incorporate solar panels for off-grid operation, though grid-tied installations offer more consistent brightness.
For residential applications, these systems are ideal for driveways longer than 100 feet, perimeter security lighting, or shared access roads in rural properties. They’re not classified as structural work, but electrical installations must comply with NEC Article 410 (luminaires) and local outdoor wiring requirements. If you’re running new circuits from your main panel, expect to pull a permit in most jurisdictions.
Key Components You’ll Need for Your DIY Smart Street Lighting Project
Materials List:
- LED street-style fixtures (30–100W, IP65 or higher rating for weather resistance)
- Mounting poles (galvanized steel or aluminum, 10–20 feet depending on coverage area)
- Concrete mix (80-lb bags, typically 2–3 per pole for a 12-inch diameter footing)
- Electrical conduit (PVC Schedule 40 or rigid metal conduit for underground runs)
- Direct-burial rated cable (UF-B 12/2 or 10/2 for line-voltage: 14/2 landscape wire for low-voltage systems)
- Smart lighting controller or hub (compatible with Zigbee, Z-Wave, or Wi-Fi)
- Motion sensors and/or photocells (if not integrated into fixtures)
- GFCI breaker (15A or 20A, required for outdoor circuits per NEC 210.8)
- Weatherproof junction boxes (NEMA 3R minimum)
Tool List:
- Post hole digger or auger (manual or power)
- Level (24-inch or longer)
- Trenching shovel
- Wire strippers and crimpers
- Voltage tester (non-contact)
- Drill/driver with masonry bits
- Conduit bender (if using EMT)
- Ladder (height-rated for pole work)
Safety Gear:
- Electrical gloves (rated for your working voltage)
- Safety glasses
- Work gloves (for handling concrete and metal)
- Ear protection (if using power auger)
Choose between line-voltage (120V) and low-voltage (12V or 24V) systems. Line-voltage delivers brighter output and longer cable runs without voltage drop, but requires more stringent code compliance and GFCI protection. Low-voltage systems are safer and easier to install but need transformers and aren’t ideal for runs exceeding 100 feet without significant wire gauge increases.
Step-by-Step Guide to Building Your Smart Street Lighting System
1. Plan Your Layout and Dig Footings
Map fixture locations based on overlapping light cones, most LED street lights cover 15–20 feet diameter at ground level from a 12-foot mounting height. Space poles 25–35 feet apart for continuous coverage.
Dig footings 36 inches deep (below frost line in northern climates) and 12 inches in diameter. Pour 4 inches of gravel for drainage, insert the pole base or mounting sleeve, and fill with concrete. Use a level on two axes and brace the pole plumb while concrete sets (24–48 hours).
2. Trench for Conduit Runs
Trench between pole locations and back to your power source. NEC 300.5 requires burial depths of:
- 18 inches minimum for PVC conduit with GFCI protection
- 24 inches for direct-burial cable (UF-B) without conduit
- 6 inches if running under concrete or within 2 inches of rigid metal conduit
Lay 1-inch PVC conduit in trenches, using sweeping 90-degree bends (not hard elbows) to ease wire pulling. Leave 6–12 inches of conduit extending above grade at each pole base.
Wiring and Installing the Light Fixtures
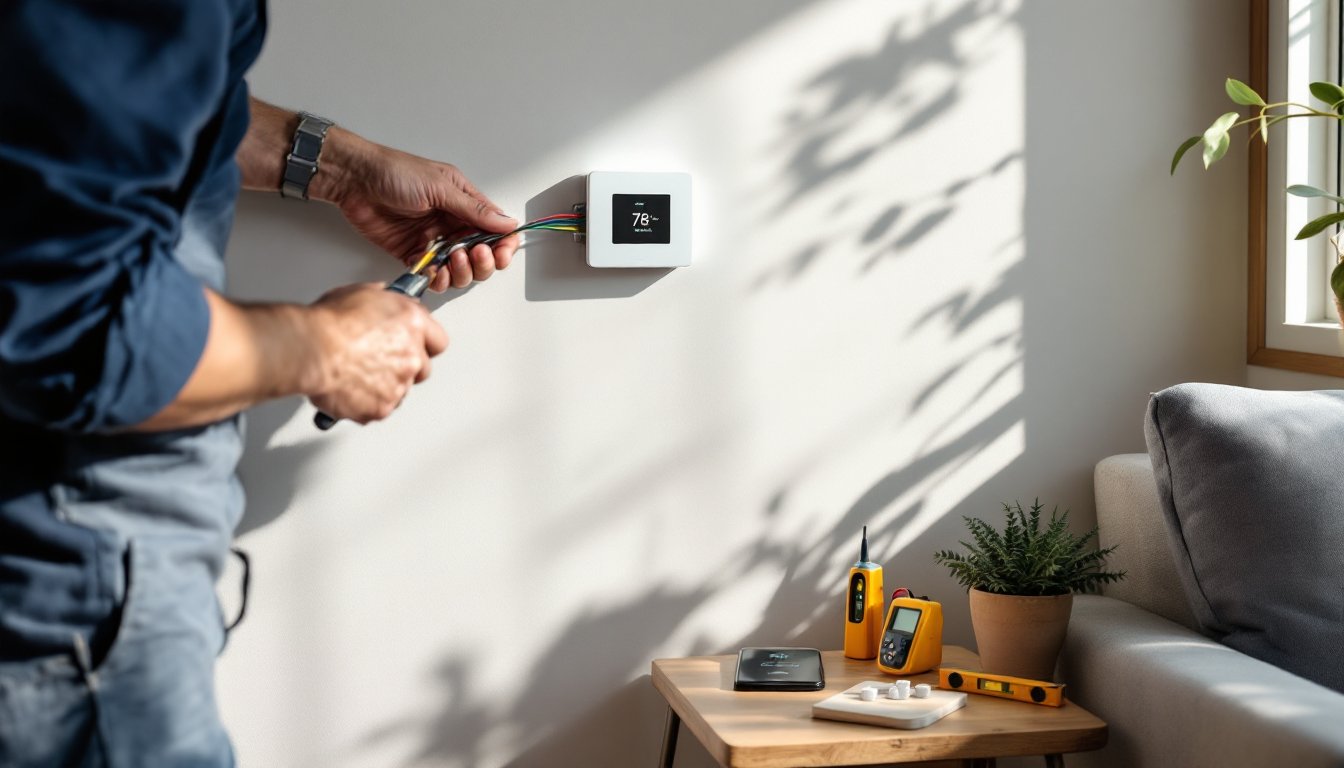
Run your chosen cable through conduit using fish tape. For line-voltage systems, use UF-B 12/2 (rated for 20A circuits up to 200 feet) or upgrade to 10/2 for longer runs to minimize voltage drop. Each fixture should see no more than 3% voltage drop under load.
At each pole, install a weatherproof junction box at the base or mid-height (depending on fixture design). Many DIYers prefer base-mounted boxes for easier access. Make connections using waterproof wire nuts or silicone-filled splice kits rated for wet locations.
Mount LED fixtures to pole tops using the manufacturer’s bracket system. Most street-style lights use a slip-fitter mount (adjustable for various pole diameters). Torque bolts to spec, undertightening allows vibration loosening: overtightening cracks the housing.
Before energizing, test all connections with a multimeter and verify polarity. Outdoor lighting systems using smart controls often require neutral wires even for switched circuits, so don’t rely on switch-loop wiring methods.
Safety note: If you’re tapping into your main panel for a new circuit, shut off the main breaker and verify zero voltage before working. This is not a task for beginners, if you’re uncomfortable with panel work, hire a licensed electrician for the connection and complete the downstream wiring yourself.
Configuring Smart Controls and Automation Settings
Install your smart lighting hub indoors near your router. Most systems (like those reviewed on CNET and Digital Trends) use Zigbee or Wi-Fi mesh protocols that extend range through each connected fixture.
Pair each fixture to the hub via the manufacturer’s app. Common platforms include Philips Hue (Zigbee), TP-Link Kasa (Wi-Fi), or standalone controllers from commercial lighting manufacturers.
Program automation rules based on your priorities:
- Dusk-to-dawn with motion override: Lights at 20% brightness after sunset, ramping to 100% on motion detection
- Scheduled dimming: Full brightness until 11 PM, then 30% until sunrise
- Ambient light response: Fixtures monitor surrounding light levels and adjust output to maintain consistent illumination
Integrate with voice assistants (Alexa, Google Home) or home automation platforms (Home Assistant, SmartThings) for unified control. Many users create geofencing rules that activate perimeter lights when arriving home after dark.
Test motion sensors by walking the coverage area at various approach angles. Adjust sensor sensitivity and time delay settings (typical range: 30 seconds to 10 minutes) to avoid nuisance triggering from small animals or wind-blown branches.
Cost Breakdown and Expected Energy Savings
Material costs vary by system scale and quality tier, but expect:
- LED fixtures: $80–$250 each (commercial-grade units last 50,000+ hours)
- Mounting poles: $120–$400 per pole (galvanized steel, 12–15 feet)
- Smart controller/hub: $50–$150
- Electrical materials: $3–$6 per linear foot for conduit, wire, and fittings
- Concrete and hardware: $30–$50 per pole
A four-fixture system covering a 150-foot driveway typically runs $1,200–$2,200 in materials, assuming DIY installation. Professional installation adds $800–$1,500 depending on trench length and local labor rates.
Energy savings depend on usage patterns. A traditional 100W HPS (high-pressure sodium) fixture running 12 hours daily costs roughly $53/year at $0.12/kWh. A 30W LED equivalent with motion-dimming automation (averaging 6 effective hours at 50% brightness) costs about $6.50/year, an 88% reduction.
Over a 10-year lifespan, a four-fixture system saves approximately $1,860 in electricity costs compared to conventional always-on lighting. Smart controls extend this by reducing unnecessary runtime. Many users report fixture buyers reviewing smart home product comparisons find ROI within 3–5 years for systems replacing older halogen or HPS lights.
Troubleshooting Common Smart Street Lighting Issues
Fixtures won’t pair with hub: Verify the hub and fixtures use compatible protocols (Zigbee devices won’t pair with Wi-Fi-only hubs). Check that you’re within mesh range, Zigbee typically maxes at 30–50 feet indoors, farther outdoors. Reset fixtures to factory settings and re-pair.
Inconsistent motion detection: Adjust sensor mounting angle (most should tilt 10–15 degrees downward) and sensitivity settings. Clear obstructions like tree branches that sway in wind. Verify the detection zone doesn’t cross property lines where passing traffic triggers lights.
Voltage drop causing dim output: Measure voltage at the furthest fixture under load. If it’s below 114V on a 120V circuit, increase wire gauge or split into multiple circuits. For low-voltage systems, use 12-gauge landscape wire for runs over 50 feet.
Water intrusion in junction boxes: Confirm boxes are rated NEMA 3R minimum. Apply dielectric grease to all wire connections and ensure conduit entries angle downward so water drains away from boxes. Seal unused knockouts.
Hub connectivity drops: Outdoor installations can stretch mesh networks thin. Add a weatherproof Zigbee repeater (or use one of the fixtures as a repeater if supported) midway along the run. For Wi-Fi systems, consider a weatherproof access point mounted near the fixture array.
Premature LED failure: Check for voltage spikes, install a whole-house surge protector if you experience frequent outages. Verify fixtures have adequate heat sinking: LED drivers fail faster when trapped in poorly ventilated enclosures.