Z-Wave smart thermostats let homeowners control heating and cooling through a local mesh network that doesn’t rely on cloud servers or subscription fees. Unlike Wi-Fi thermostats, Z-Wave devices communicate directly with a central hub, offering faster response times and better reliability when your internet goes down. They’re a practical upgrade for anyone already running a Z-Wave smart home setup or looking to build one from scratch. This guide walks through what makes Z-Wave thermostats different, how to pick the right model for your HVAC system, and what you need to know before installation.
Table of Contents
ToggleKey Takeaways
- Z-Wave smart thermostats operate on a local mesh network without cloud dependency, ensuring heating and cooling controls continue working even during internet outages.
- A Z-Wave smart thermostat can reduce energy bills by up to 10% annually through smart scheduling and occupancy-based automations that prevent heating or cooling empty homes.
- Before purchasing, verify your HVAC system has a C-wire or plan to install a C-wire adapter, as most Z-Wave thermostats require continuous power to function reliably.
- Look for Z-Wave Plus certification (500 or 700 series chips) to guarantee better range, improved security with AES-128 encryption, and seamless integration with hundreds of compatible devices.
- Professional installation is recommended for complex multi-stage systems or if you’re uncomfortable with HVAC wiring; always turn off power at the breaker and label wires before disconnecting the old thermostat.
What Is a Z-Wave Smart Thermostat and How Does It Work?
A Z-Wave smart thermostat uses low-power wireless radio frequency (908.42 MHz in the US, 868.42 MHz in Europe) to communicate with other Z-Wave devices through a central hub like Samsung SmartThings, Hubitat, or Home Assistant. Unlike Wi-Fi thermostats that connect directly to your router, Z-Wave creates a mesh network where each powered device acts as a signal repeater, extending range and improving reliability.
The thermostat doesn’t talk directly to the internet. Instead, it sends commands to the hub, which processes automations and can connect to the cloud if you want remote access. This local-first architecture means your heating and cooling schedules keep running even if your internet service drops.
Most Z-Wave thermostats replace standard 24-volt HVAC thermostats and connect to the same wiring: R (power), C (common), W (heat), Y (cooling), G (fan), and sometimes auxiliary terminals for heat pumps or multi-stage systems. The C-wire provides continuous power, which is critical for smart thermostats. If your old thermostat didn’t need one, you might need to run a new wire or install a C-wire adapter.
Z-Wave operates on the Z-Wave Plus standard as of recent years, which doubled the range to about 100 feet line-of-sight and improved battery life. Most thermostats are hardwired and act as repeaters, strengthening your mesh. Z-Wave uses AES-128 encryption and requires devices to authenticate with the hub, offering better security than some Wi-Fi models that have suffered from cloud breaches.
Top Benefits of Installing a Z-Wave Smart Thermostat in Your Home
Energy Savings and Cost Efficiency
Smart scheduling is the primary way Z-Wave thermostats cut energy bills. Instead of heating or cooling an empty house, homeowners can set occupancy-based schedules or trigger the thermostat to adjust when a door sensor detects everyone has left. The Department of Energy estimates that setting back your thermostat 7–10°F for eight hours a day can save up to 10% annually on heating and cooling costs.
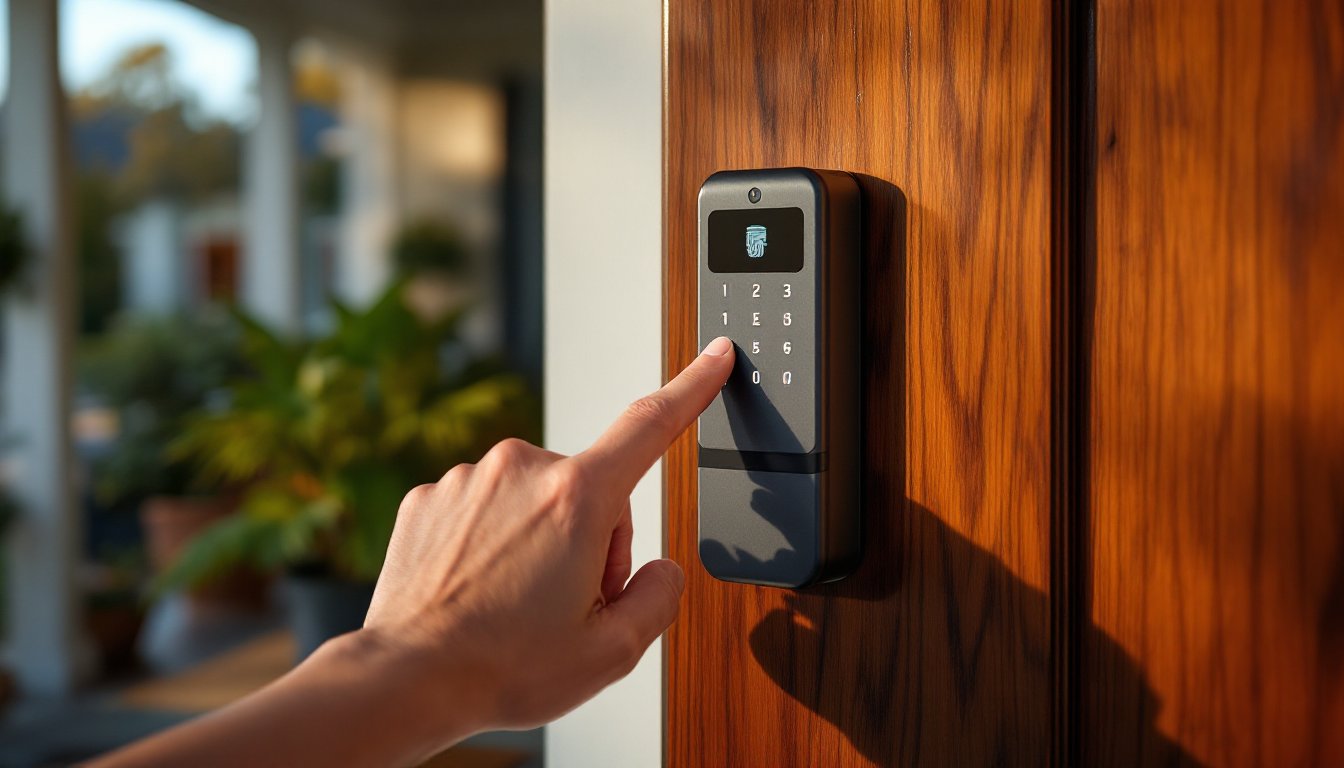
Z-Wave thermostats also enable geofencing and presence detection when paired with motion sensors or door locks in the same network. If the system detects no motion for two hours and the front door is locked, it can automatically switch to an away mode. This works without cloud polling delays because it’s all processed locally on the hub.
Many models support multi-zone HVAC systems, letting homeowners control dampers or separate air handlers for different floors or wings of the house. This prevents wasting energy conditioning unused rooms. Some advanced setups integrate with humidity sensors and smart vents, balancing airflow based on real-time conditions.
Seamless Smart Home Integration
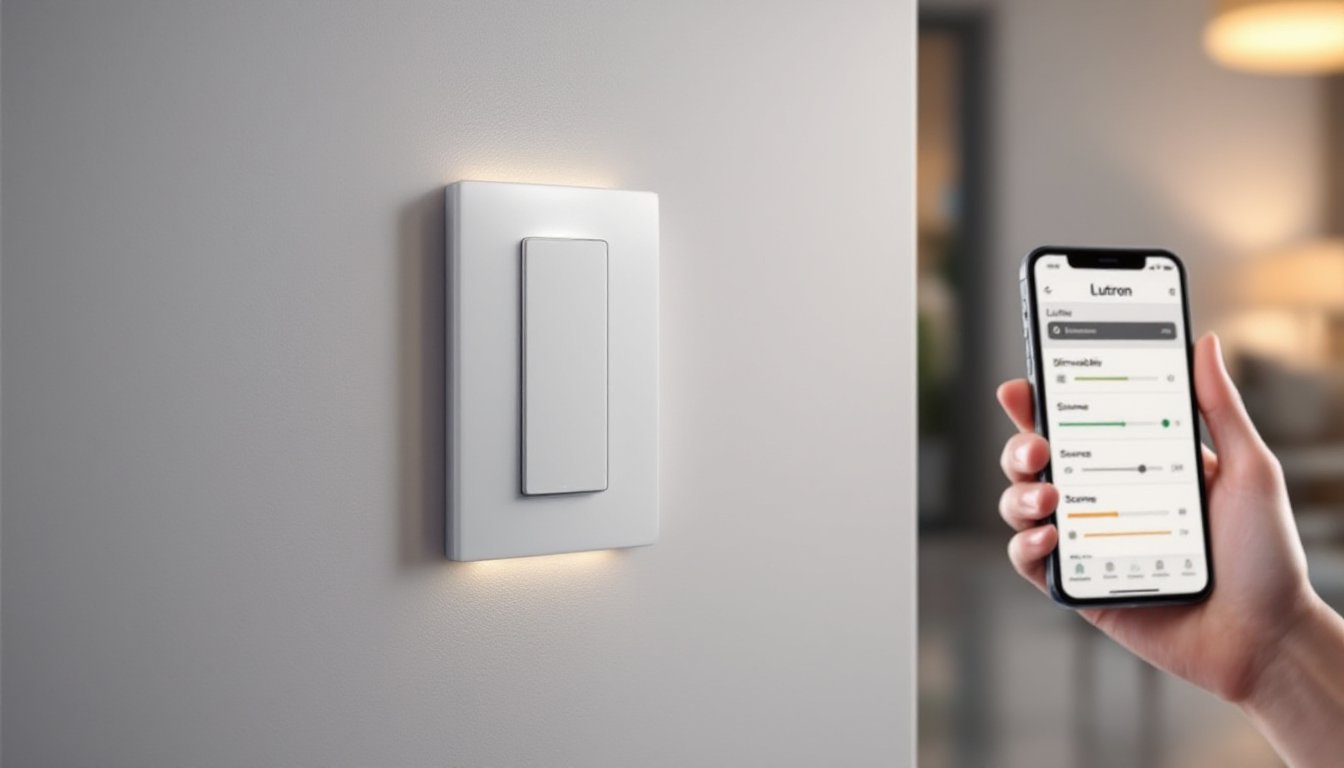
Z-Wave’s open protocol means thermostats work with hundreds of devices from different manufacturers. Homeowners can build routines like “Good Morning,” which raises the temperature, unlocks the door, and starts the coffee maker, all triggered by a single voice command or button press on a Z-Wave wall switch.
Z-Wave thermostats don’t depend on a single company’s cloud service staying online. Z-Wave devices form a robust local mesh, so even if the manufacturer goes out of business, the hardware keeps working with your hub. This is a big advantage over proprietary systems.
They also integrate with voice assistants (Alexa, Google Assistant) through the hub, though the commands route through the hub’s skill or integration. Response times are typically under a second on a well-configured network. Homeowners running Home Assistant or Hubitat can write custom automations, like adjusting the thermostat based on outdoor temperature from a weather station or electricity rate schedules from a time-of-use meter.
How to Choose the Right Z-Wave Smart Thermostat for Your Needs
Start by checking your HVAC system compatibility. Most Z-Wave thermostats handle single-stage and multi-stage heating and cooling, but heat pumps, dual-fuel systems, and boilers have specific wiring requirements. Count the wires at your current thermostat and note their terminal letters. If you have more than six wires or an unusual configuration, cross-reference with the thermostat’s compatibility chart.
The C-wire (common wire) is non-negotiable for most Z-Wave thermostats. If your system doesn’t have one, you’ll need to run a new wire from the furnace control board (often using the spare conductor in a five-wire bundle) or install a C-wire adapter like the Venstar ACC0410. Don’t skip this, underpowered thermostats cause erratic behavior and can damage HVAC relays.
Look for Z-Wave Plus certification (500 or 700 series chips). The 700 series offers better range, lower power draw, and improved security. Older non-Plus devices (300 series) are still around but don’t mesh as well and lack modern encryption standards.
Display and interface matter for daily use. Some Z-Wave thermostats have full-color touchscreens with local scheduling, while budget models rely on the hub’s app for all settings. If you have family members who aren’t comfortable with apps, a thermostat with physical controls and a readable display is worth the extra cost.
Consider built-in sensors for temperature and humidity. Cheaper models only measure temperature at the thermostat location, which can be inaccurate if it’s mounted near a draft or in a hallway. Higher-end units support remote sensors (via Z-Wave) to average temperature across rooms or prioritize specific zones.
Some thermostats include energy reporting, logging runtime for heating, cooling, and fan operation. This data helps diagnose inefficient HVAC performance or identifies when filters need changing. Models like the Trane XL824 offer detailed energy history and maintenance reminders.
Finally, check hub compatibility. Most Z-Wave thermostats work with SmartThings, Hubitat, Home Assistant, and Vera, but some advanced features (like humidity control or adaptive recovery) may require specific hub firmware or custom drivers. Scan user forums for your hub to see if other owners report issues with the model you’re considering.
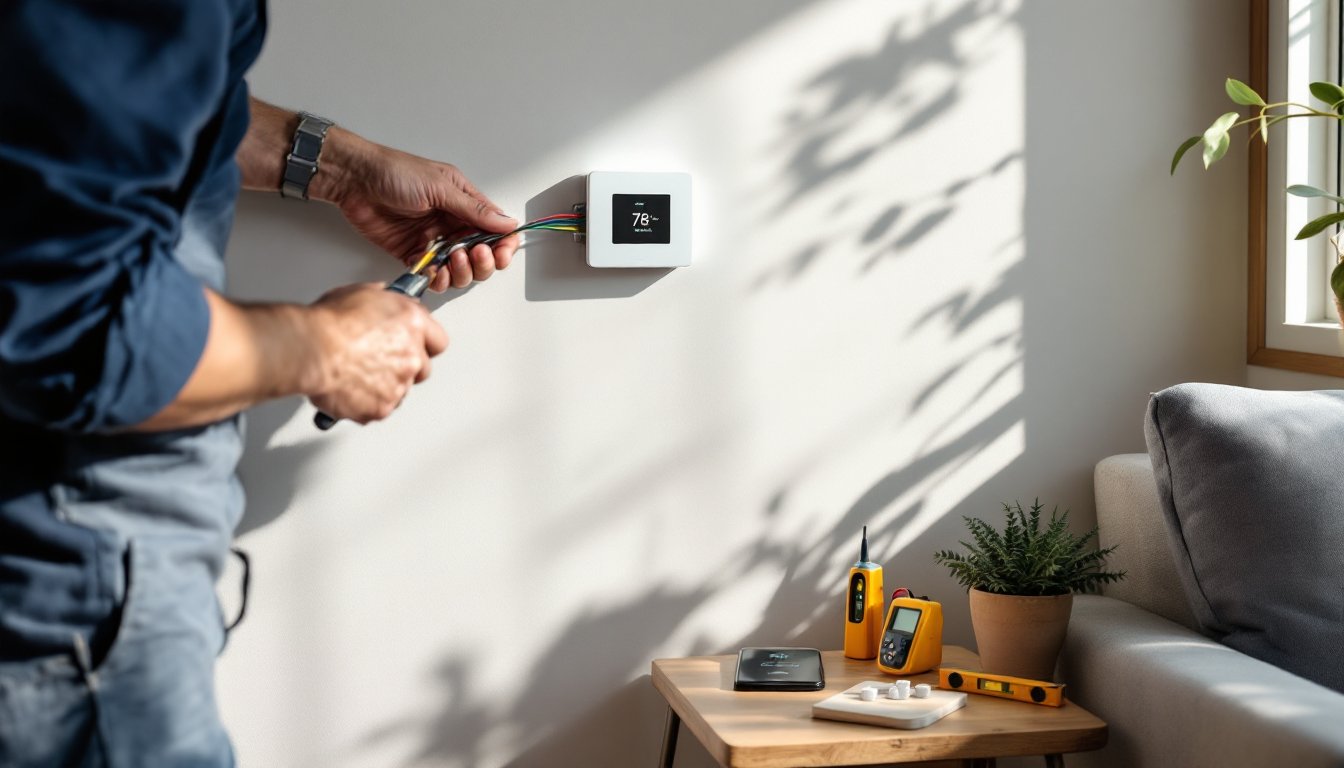
Installation and Setup: What Homeowners Need to Know
Turn off power at the breaker before touching any thermostat wiring. HVAC systems run on 24VAC, which won’t kill you but can short control boards and cost hundreds in repairs. Use a non-contact voltage tester to confirm the wires are dead.
Remove the old thermostat and photograph the wiring before disconnecting anything. Label each wire with masking tape and a marker matching the terminal letter (R, C, W, Y, G, etc.). If wires are bundled together on a single terminal (common with jumpers), note that in your photo.
Mount the new backplate level and anchored to a stud or drywall anchor if possible, thermostats on exterior walls or loose mounts can read inaccurately due to drafts or vibration. Most backplates have built-in bubble levels. If you’re replacing an old mercury thermostat, you may need to patch screw holes and drill new ones.
Connect wires to the matching terminals on the new thermostat. Strip about 1/4 inch of insulation if needed and ensure solid contact, loose connections cause intermittent failures. If you’re adding a C-wire, run it from the “C” terminal on the furnace control board (usually a blue wire) to the thermostat’s C terminal. Consult your furnace’s wiring diagram (often glued inside the panel door) if you’re unsure.
Snap the thermostat onto the backplate and restore power at the breaker. The thermostat should boot up within a few seconds. If it doesn’t, double-check the R and C wires, they provide power.
Put your Z-Wave hub into inclusion mode (also called pairing or adding a device). On the thermostat, access the settings menu and select “Add to Network” or press the inclusion button (location varies by model). The hub should detect the device within 30 seconds. If it times out, try excluding the thermostat first (even if it’s new) to clear any previous pairing data.
Once paired, the hub will assign a node ID and may auto-configure device settings. Test basic commands (raise and lower temperature, switch modes) from the hub’s app. If the thermostat doesn’t respond, it may be out of mesh range, add a Z-Wave repeater (plug-in switch or outlet) between the hub and thermostat.
Set your heating and cooling schedules in the hub’s automation interface or on the thermostat if it has local scheduling. Many hubs let you import schedules from templates or copy them from room to room in multi-zone setups.
Test all modes: heat, cool, auto, fan-only, and emergency heat (if applicable). Confirm the HVAC system responds correctly and the thermostat reports accurate temperature readings. If readings are off by more than 2°F, check for drafts, direct sunlight, or placement near heat sources. Some thermostats allow temperature offset calibration in advanced settings.
Many top smart thermostats offer learning features and adaptive scheduling. Z-Wave models don’t typically learn on their own, you’ll configure that through hub-based rules and presence sensors.
Professional installation is recommended if you’re uncomfortable with HVAC wiring, have a complex multi-stage system, or need to run new wire through finished walls. Permit requirements vary by jurisdiction, most areas don’t require permits for thermostat replacement, but adding new HVAC zones or modifying ductwork usually does. When in doubt, check with your local building department.
Wear safety glasses when drilling into walls (dust and debris), and use a dust mask if working in an attic with old insulation. Keep a vacuum handy to clean up drywall dust before mounting the backplate.
Conclusion
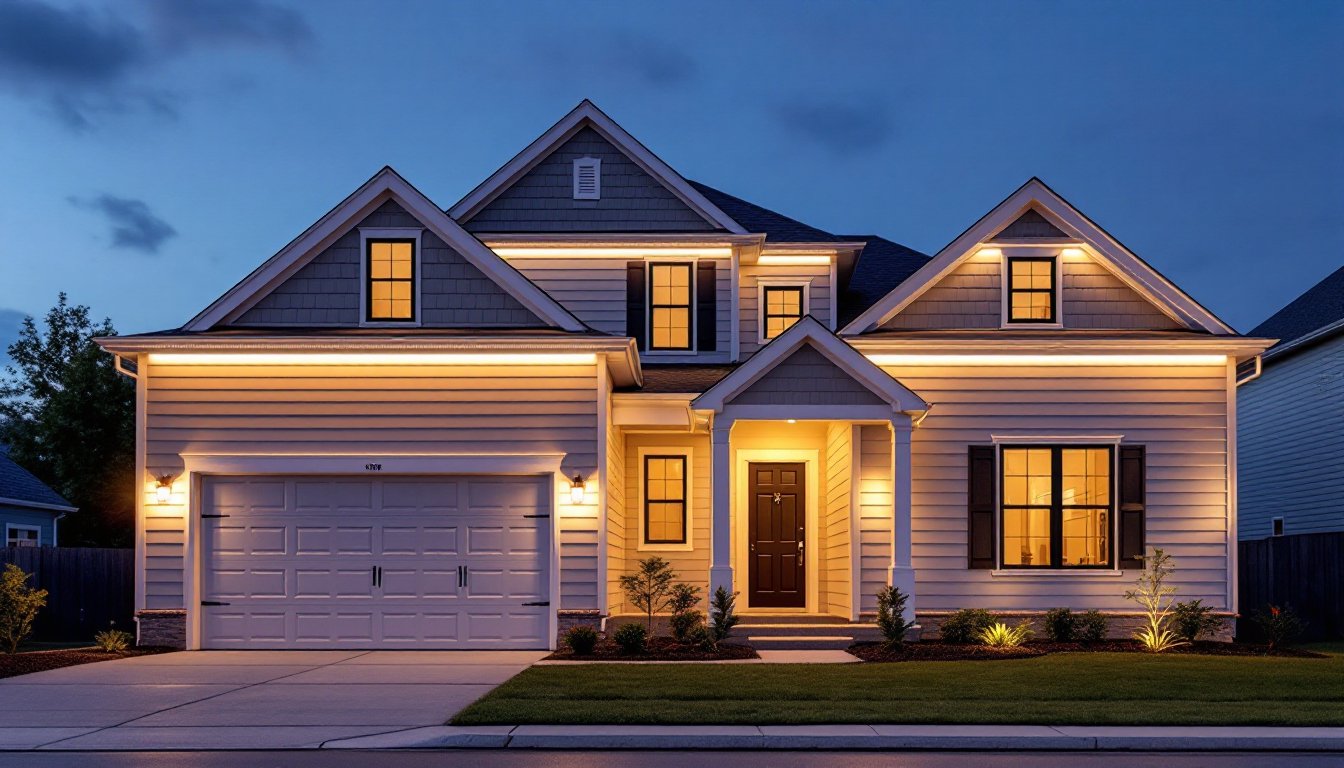
Z-Wave smart thermostats offer local control, strong mesh networking, and independence from cloud services, making them a solid choice for homeowners building reliable smart home systems. Choose a model that matches your HVAC configuration, verify C-wire availability before ordering, and take time during installation to label wiring and test all modes. With the right setup, you’ll gain energy savings, better comfort control, and automation that keeps working even when the internet doesn’t.